
Assembling an arc lamp without mistakes: The short instructions
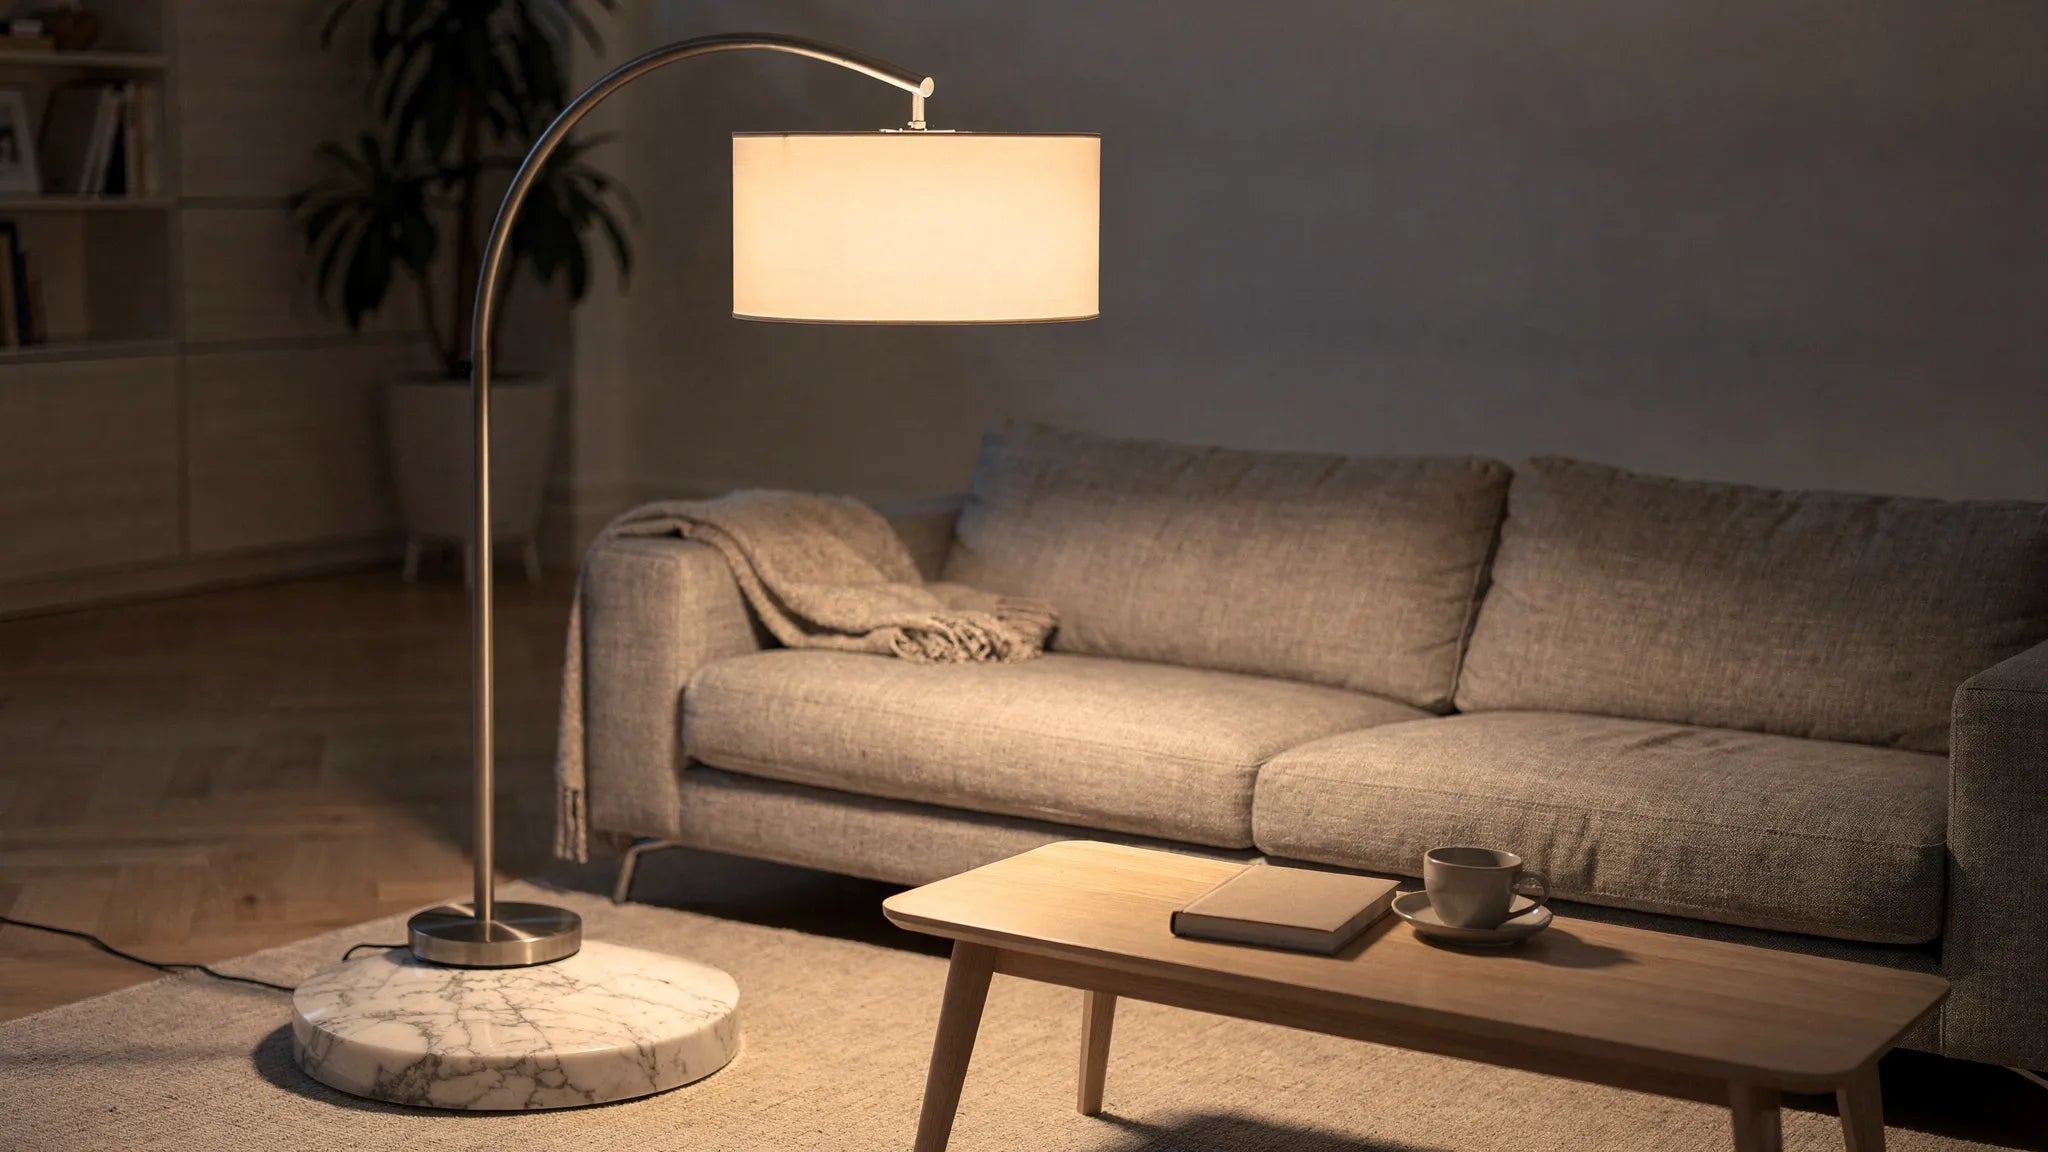
An arc lamp is the elegant solution when a room needs cozy light but there is no ceiling connection in the right place. It spreads light over the sofa, reading chair or coffee table and looks like a design object. To ensure that it doesn't wobble, dazzle or stand crooked later on, the structure is more important than many people think.
This short one Arc lamp assembly instructions guides you safely through the assembly, from sorting the parts to the correct placement in the living room. Important in advance: Always work according to the manufacturer's instructions provided. If the cable, plug or socket is damaged, do not use the lamp.
Before you set up: These 5 minutes will save you hassle later
First lay all the pieces on a soft blanket or rug. This will help you avoid scratches on metal, glass, marble or painted surfaces. Especially with arc lamps, the base is often heavy so that the lamp is stable. Therefore, plan enough space and, for large models, it is best to get a second person.
Also check whether all screws, washers, threaded rings, shield parts and the appropriate tools are present. Many assembly errors are not caused by complicated technology, but by swapped screws or connections that were tightened too early.
| Part of the arc lamp | Check briefly | Common mistake |
|---|---|---|
| Stand | No cracks, felt gliders present, screw holes free | Foot is not placed flat |
| Rod and bow arm | Thread clean, parts aligned straight | Thread is set at an angle |
| Cable | No bruises, no kinks, no open spots | Cable gets pinched when screwing |
| Lampshade | Bracket, ring or clamp complete | Shade is attached too loosely |
| Light bulbs | Please note the appropriate base and maximum performance | Too strong or incorrect lighting is used |
Step-by-step: Set up an arc lamp correctly
1. Lay out all parts in the correct order
Sort the components as they will be assembled later: base, lower pole, middle pole, arch arm, shade, bulb. Put screws and small parts separately, for example in a small bowl. Only remove protective films completely when the respective part is assembled. This means the surface remains better protected during construction.
2. Prepare the stand securely
Place the foot on a flat surface. If felt pads or floor protectors are included, attach them first. This protects parquet, tiles and stone floors. Then mount the first rod on the base.
First, only tighten the screws hand-tight. Only when the lamp is completely upright and aligned should you finally tighten the connection. This way you avoid tension in the frame.

3. Screw the rod parts straight
Always insert threads slowly and straight. If a part gets stuck after a few turns, loosen it and start again. Violence is the classic mistake here, as a crooked thread can cause permanent damage.
If metal surfaces are visible, you should not use pliers directly on the material. If a tool is necessary, place a soft cloth between them. This prevents pressure points and scratches.
4. Assemble the bow arm with support
The bow arm on many models is long and can tip when inserted. A second person should hold the arm while you secure the connection to the stand. Make sure that the cable is exposed and not caught between metal parts.
Align the arch so that the umbrella later hangs over the desired area. A typical position is above the coffee table, next to the sofa or above a reading chair. Do not tighten the fixing screw until the arm is correctly aligned.
5. Attach lampshade
Depending on the model, the umbrella is attached with a threaded ring, a clamp or a small holder. Keep the shade straight and tighten the ring evenly. It shouldn't wobble, but it shouldn't be squeezed with force either.
For glass or acrylic screens, it's worth using a microfiber cloth to ensure that no fingerprints remain. If the umbrella appears asymmetrical, check the bracket first, not the bow arm. Often the ring is just slightly crooked.
6. Use the appropriate light source
Pay attention to the socket, for example E27 or E14, and the maximum wattage according to the manufacturer. For modern arc lamps, LED bulbs are usually the best choice because they are efficient, generate less heat and are available in many light colors.
Warm white light with around 2,700 to 3,000 Kelvin is often suitable for a cozy living room. For a reading corner, the light can be a little clearer and brighter, as long as it doesn't shine directly into the eyes. You can also find out more about light color and brightness in BUYnBLUE-Guide to Watts and lumens.
7. Set up the lamp and check the balance
Now carefully set up the arc lamp. The foot must rest completely on the floor. If the lamp wobbles, first check the surface, then the screw connection on the base and then the connection on the bow arm.
If possible, position your foot where it will not become a tripping hazard, for example to the side behind the sofa or next to an armchair. The cable should not run across the room. If necessary, use cable ducts or run the cable along a wall.
8. Only plug it in at the end and test it
Only plug in the lamp once all parts have been assembled, the shade is secure and the bulb has been inserted. Switch on the arc lamp and check whether it is stable, whether the shade hangs straight and whether the light falls pleasantly.
If you notice flickering, unusual noises, a burning smell, or heat developing at the plug, turn off the lamp immediately and unplug it. Do not use the light again until the cause has been clarified.
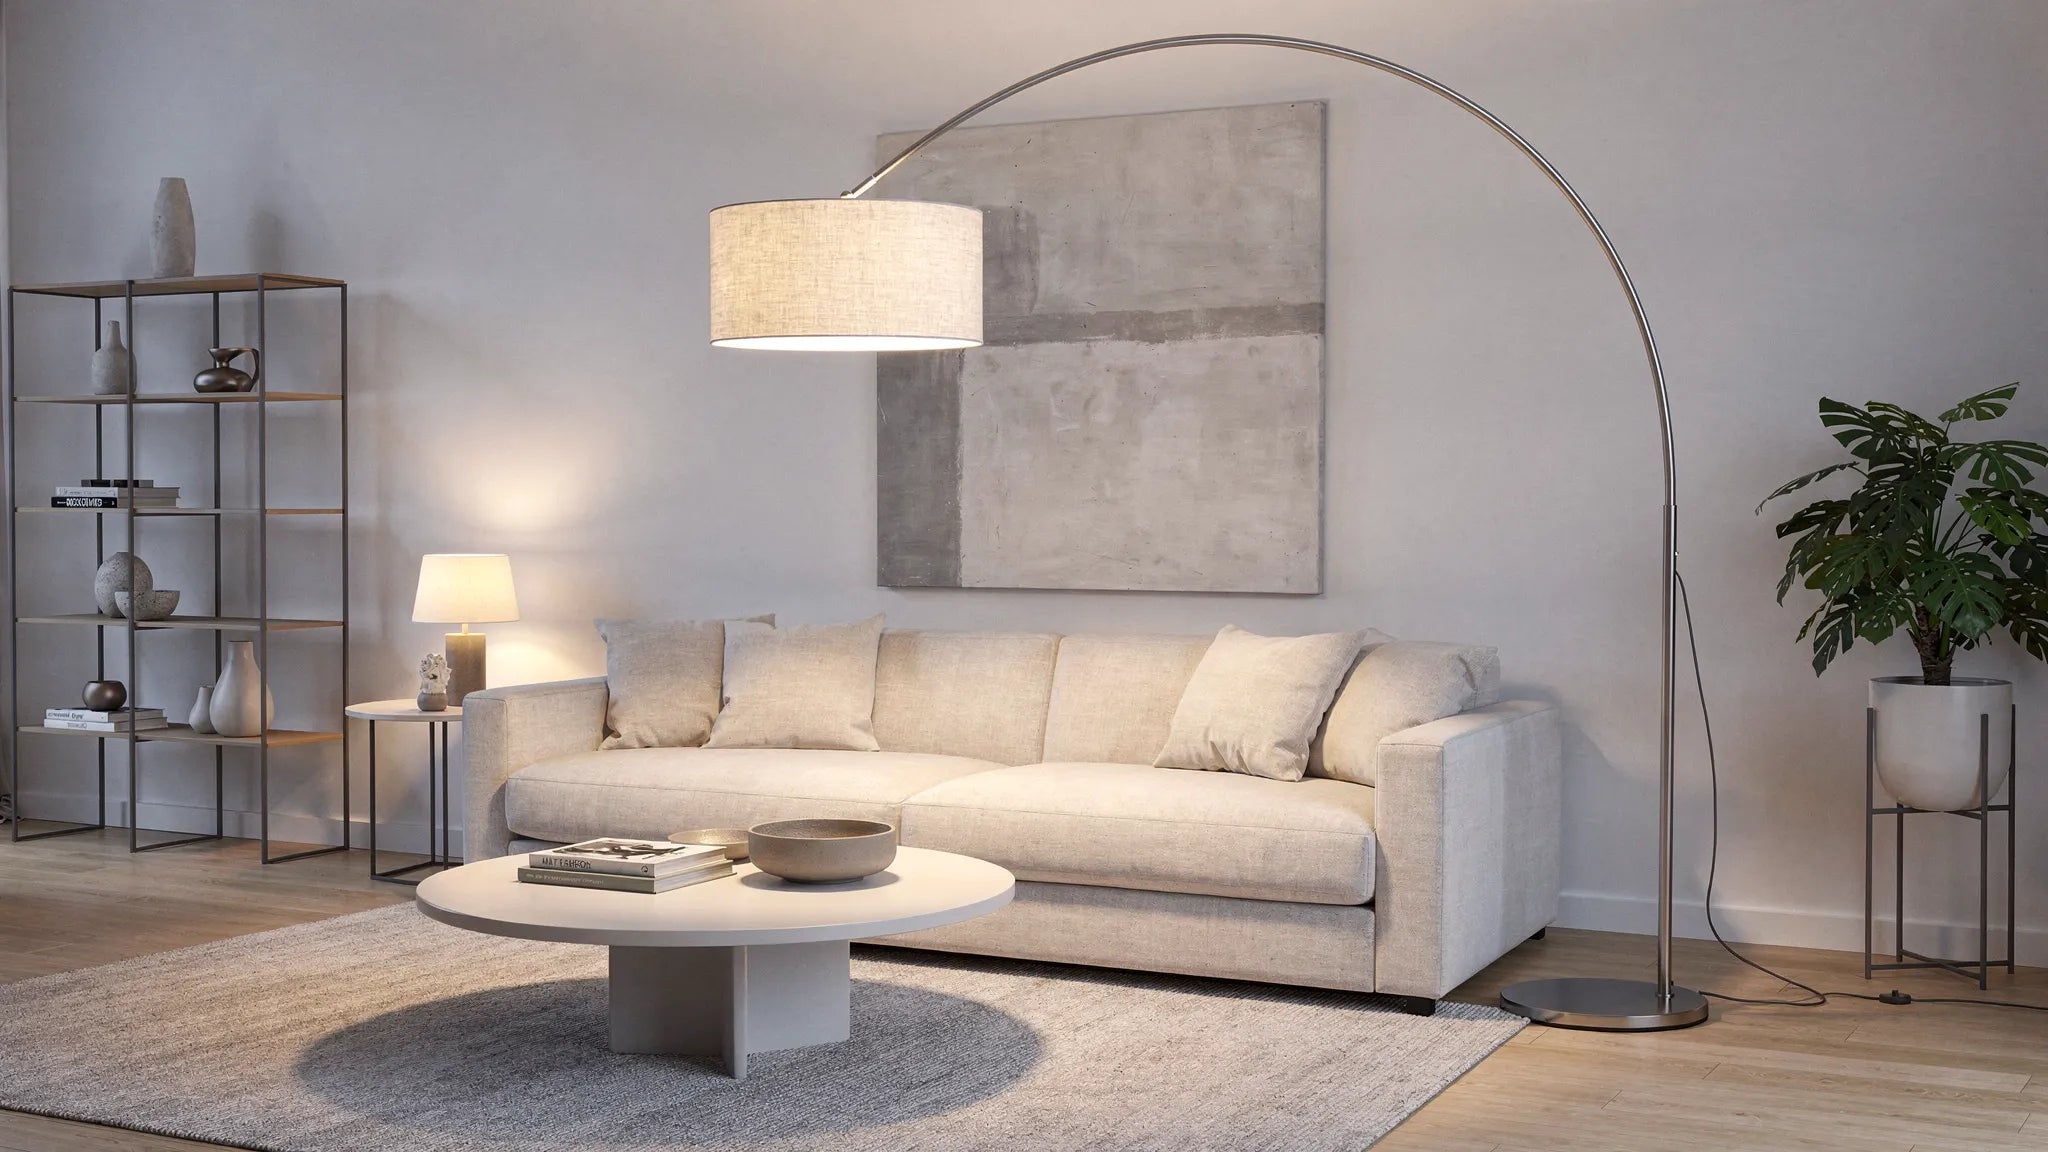
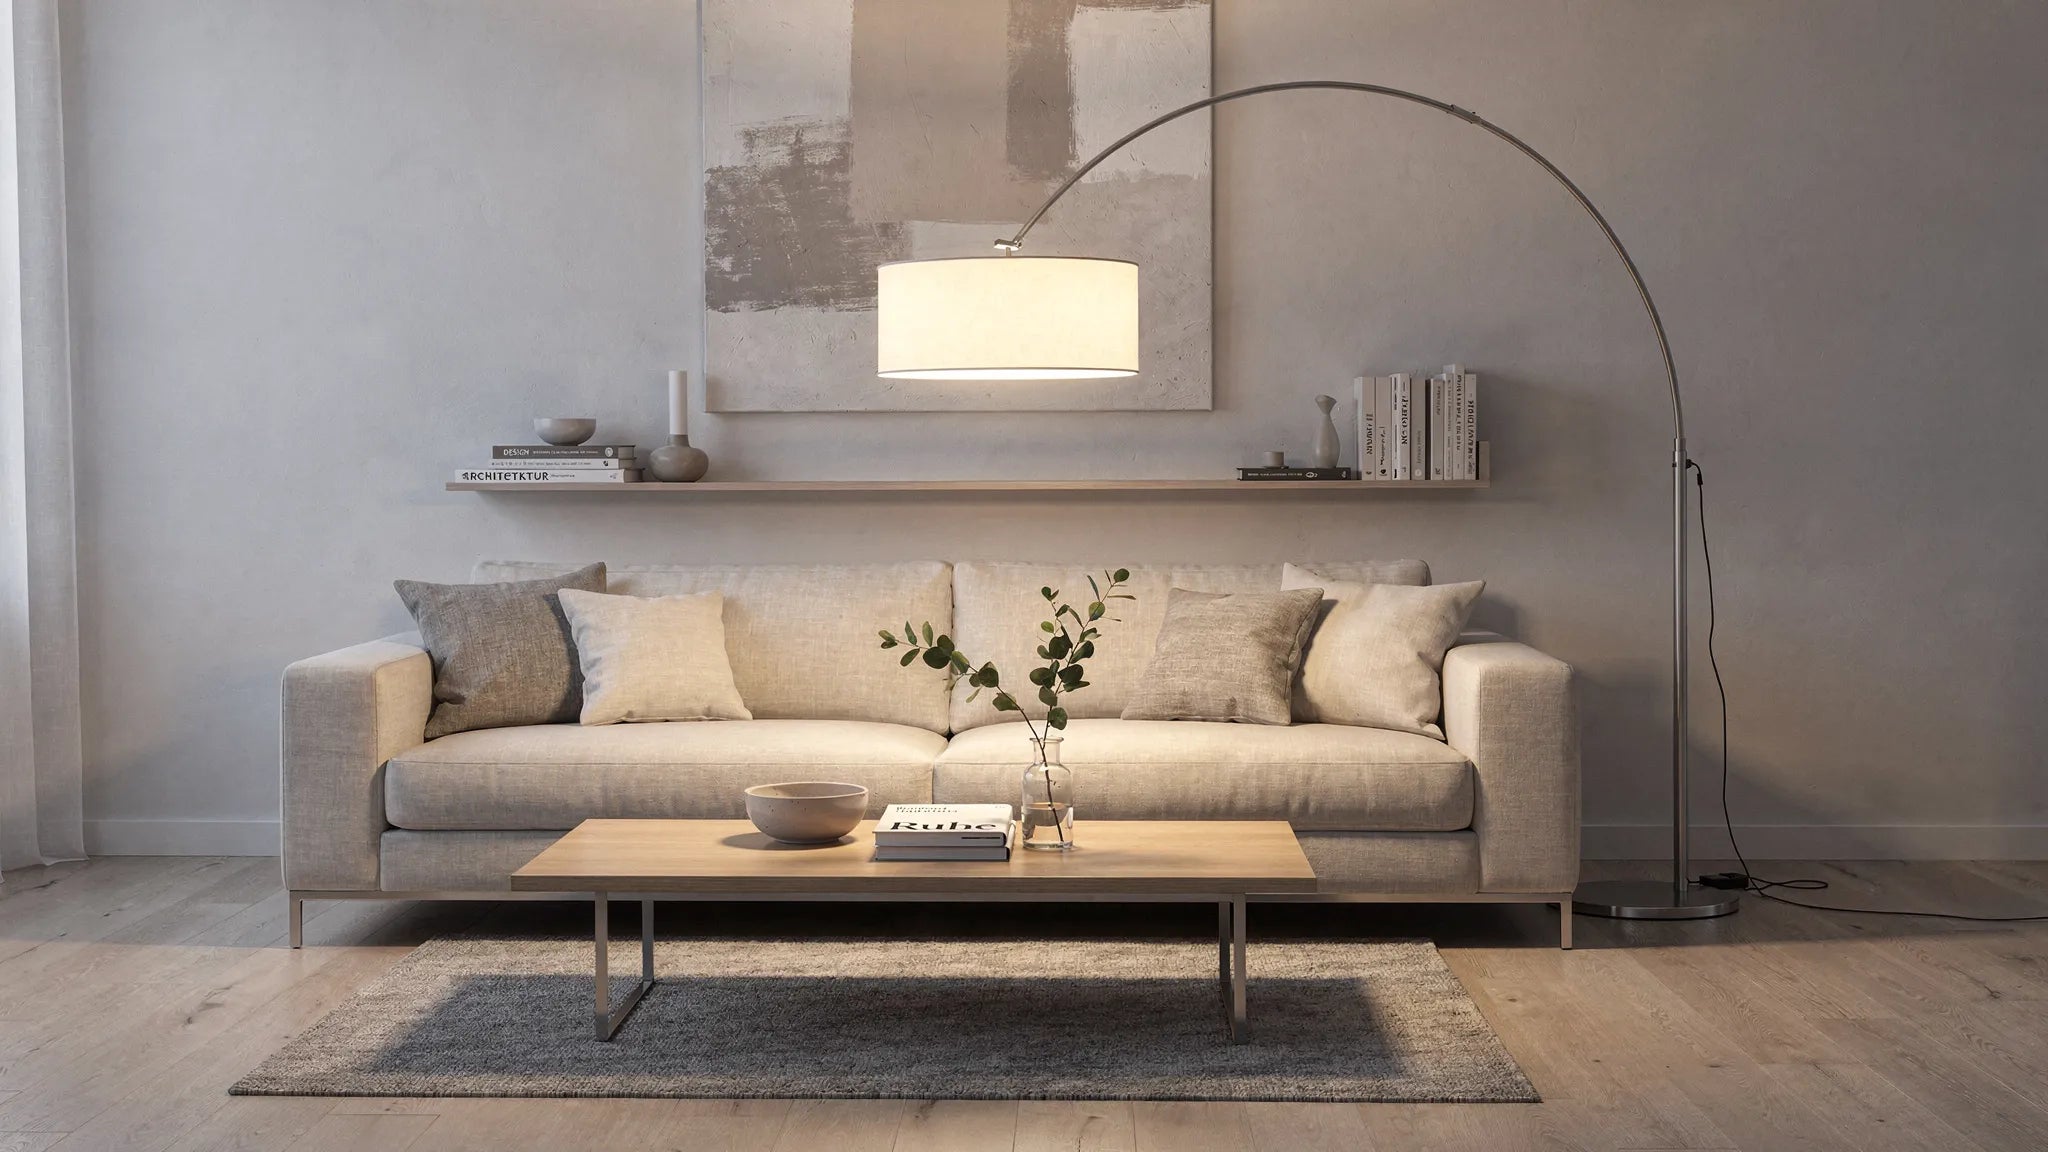
The right position: This means that the arc lamp does not appear to be placed randomly
An arc lamp looks best when it creates a clear zone of light. It shouldn't stand somewhere in the room, but rather take on a function: reading, relaxing, illuminating a table or visually combining a seating area.
| Location | Good position | Practical tip |
|---|---|---|
| Sofa | Foot to the side or slightly behind the sofa | Do not place the umbrella directly at eye level |
| Reading chair | Light slightly to the side behind the shoulder | Avoid glare from visible lamps |
| Coffee table | Run an arch over the middle of the table | Allow enough headroom when getting up |
| Room without ceiling connection | Use an arc lamp as a central island of light | Combine with table or wall lights |
An arc lamp works particularly well in small rooms if the base visually “disappears”, for example next to a sofa or behind a side table. In large rooms it can consciously appear as a sculptural element. If you are planning rooms without a ceiling connection, this is also worth it BUYnBLUE-Contribution Illuminate the room optimally even without a ceiling connection.
The most common construction mistakes and how to avoid them
The most common error is a crooked thread. Take your time and screw each part in by hand first. If things don't run smoothly, the angle is usually not right.
Another mistake is a foot that is mounted too loosely. Because the bow arm forms a lever, even small looseness has a much stronger effect later. Therefore, tighten the screws evenly again after final alignment.
The cable is also often underestimated. It must not lie under the base, not be caught in the joint and must not be taut from the plug to the lamp. A damaged cable is not a cosmetic defect, but a safety risk.
Also avoid bright, cold white bulbs in the living room. An arc lamp is usually intended to create atmosphere. If you use them for reading, a dimmable or well-shielded bulb is often more pleasant than maximum brightness.
When you shouldn't carry on yourself
The construction of a normal arc lamp with a plug is usually uncomplicated. Nevertheless, there are situations in which you should stop. These include damaged cables, loose sockets, sparking, unstable standing despite correct assembly or unclear electrical connections.
Do not make any modifications to cables, plugs or sockets unless you are qualified to do so. For lights that are permanently connected to the power supply, a qualified electrician should take care of them. For general information on safe lamp installation, you can BUYnBLUE-Guide Install lamps correctly read.
Care after construction
Check the screw connections again after a few days. New lamps sometimes settle minimally, especially if they have a heavy base or a long boom. After that, it is usually enough to check the connections occasionally.
Clean the lamp with a dry or slightly damp soft cloth. Do not use aggressive cleaners on painted, chrome-plated or brushed surfaces. Before cleaning, pull the plug and allow the lamp to cool down.
Frequently asked questions about arc lamp assembly instructions
Can I set up an arc lamp alone? Small models can often be assembled alone. If you have heavy stands, long bow arms or sensitive umbrellas, it makes sense to have a second person to ensure that nothing tips over or gets scratched.
Why does my arc lamp wobble after assembly? Often it is due to an uneven floor, a connection on the base that is not screwed tightly enough or an arch arm that is mounted crookedly. Check the lamp from bottom to top and tighten all connections evenly.
Do I need tools for assembly? Many arc lamps come with simple assembly tools. A soft cloth, a small bowl for screws and, for heavy models, a second person are also helpful.
Which bulb fits best in an arc lamp? This depends on the base, shade and desired use. Pay attention to the manufacturer's information about maximum performance. For living areas, LED bulbs with warm white light are often the most pleasant choice.
Can an arc lamp replace a ceiling lamp? In many living areas, yes, especially when combined with other light sources. For complete room lighting, several light zones usually work better than a single lamp.
Conclusion: Mount stably, place consciously, enjoy better
An arc lamp can be set up quickly if you follow the sequence: sort the parts, mount the base securely, insert the thread straight, protect the cable, attach the shade and only test it at the end. The most important point is stability, because the long arm makes every small inaccuracy appear more pronounced.
If you want to stylishly illuminate your living room, your reading corner or a room without a ceiling connection, discover at BUYnBLUE a curated selection of modern designer lights. You benefit from high-quality workmanship, free worldwide shipping, a 14-day return policy and support if you have any questions about the right lighting for your home.