Plan dimmable LED light strips for furniture and niches
One LED light strip dimmable Planning sounds simple at first: measure the length, stick in the strips, switch it on. In practice, however, the planning decides whether furniture and niches appear to be of high quality or whether visible points of light, flickering dimming and annoying cables ruin the impression.
Especially on shelves, kitchen units, wardrobes, TV walls or wall niches, LED light is often not the main lighting, but rather the level that creates atmosphere, depth and orientation. To do this, the light strip must fit the installation situation: brightness, light color, profile, power supply, control and installation location should be thought of together.
What should the LED light strip do in the room?
Before you think about watts, meterware or dimmers, it's worth asking a simple question: Should the light strip help you see, stage something or just create a mood?
Different light is needed under a kitchen wall cabinet than behind a sideboard. In an open wall unit, you might want individual compartments to glow warmly, while the inside of a cupboard should be lit more neutrally and clearly. A dimmable LED light strip is particularly useful because it can be adjusted to the time of day, usage and mood.
| Area of application | Aim of lighting | Suitable lighting effect |
|---|---|---|
| Shelf or showcase | Highlight objects | Soft accent light, as glare-free as possible |
| Kitchen substructure | Illuminate the work surface | Brighter, even light without shadows |
| Wardrobe | Recognize colors and materials | Neutral white light with good color rendering |
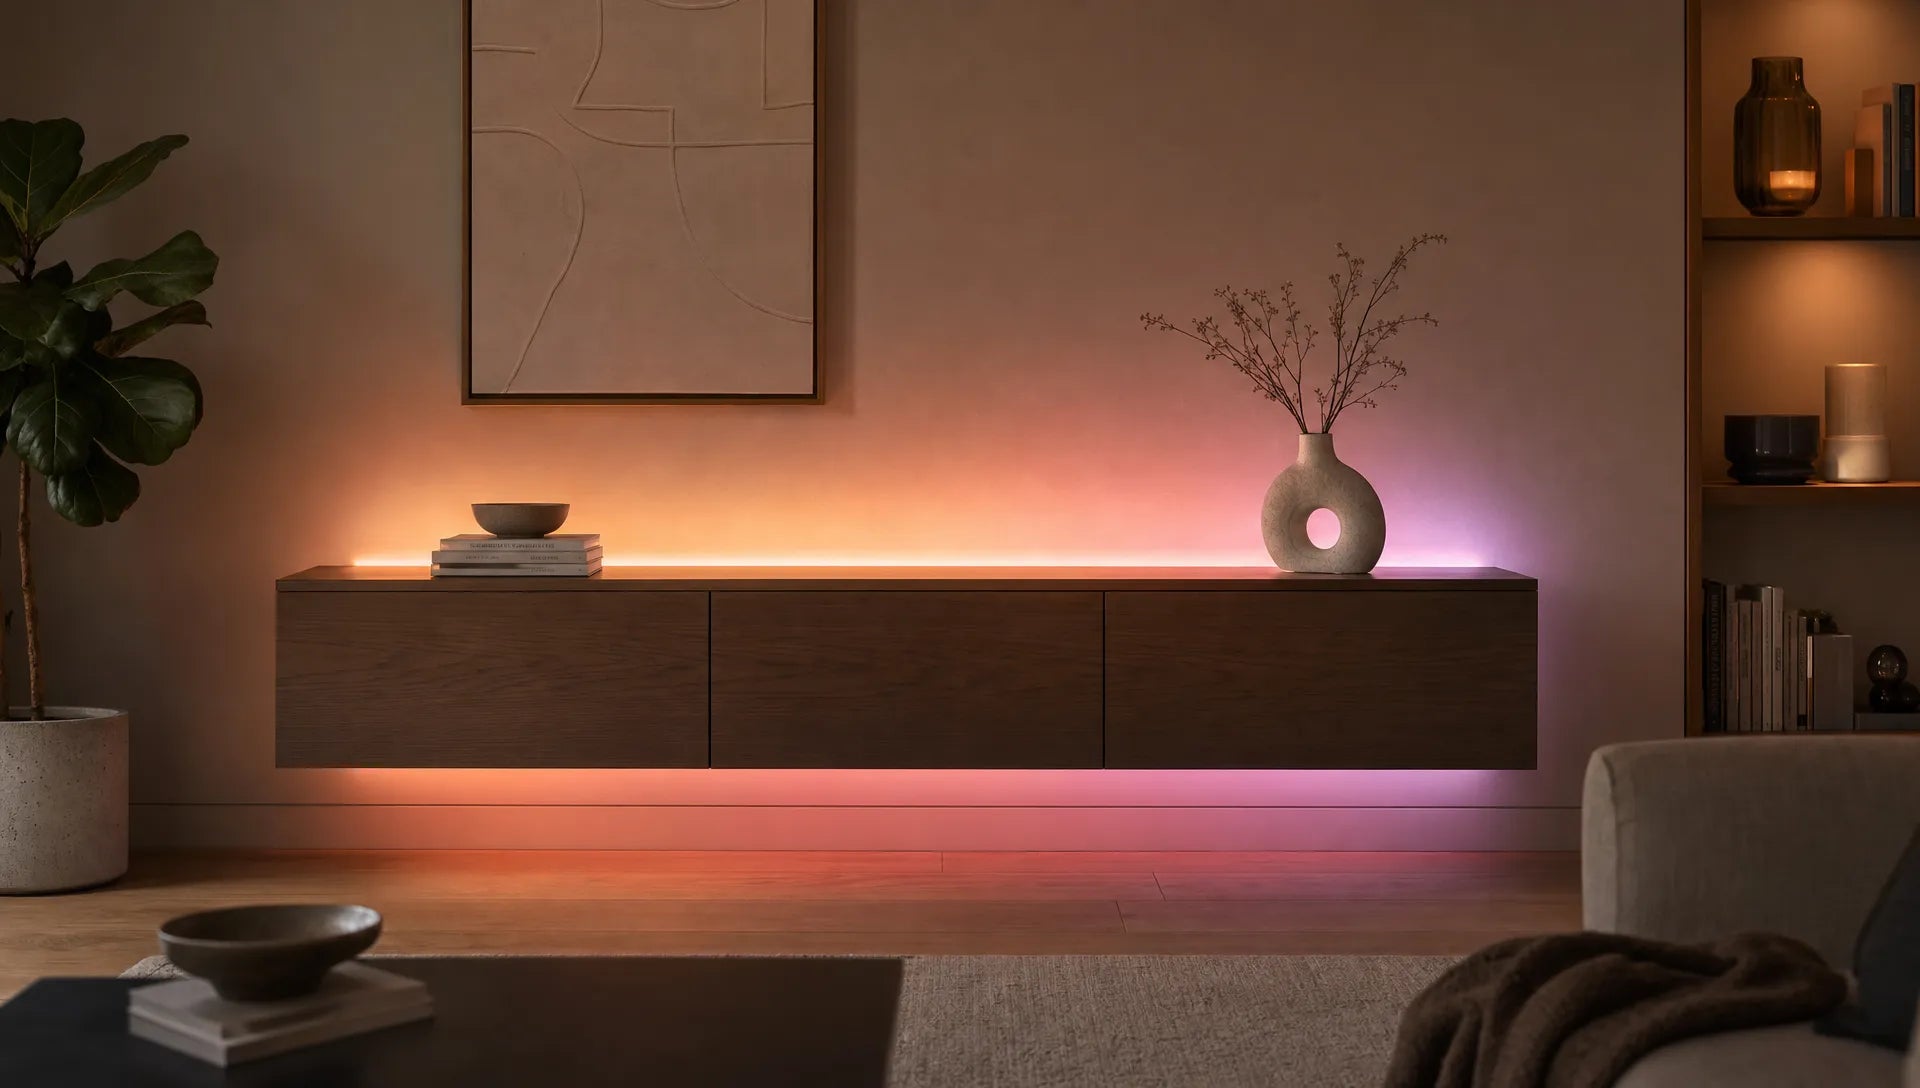
| TV wall or sideboard | Reduce contrast and create atmosphere | Indirect, dimmed light |
| Wall niche | Emphasize architecture | Linear light accent with hidden source |
| Bed, base or stairs | Orientation at night | Very low dimmable, warm light |
For living areas, warm white light between around 2700 and 3000 Kelvin is often pleasant. In kitchens, utility rooms or closet areas, 3000 to 4000 Kelvin may be more practical. If wood, stone, textiles or decoration are to appear natural, planners often also pay attention to high color rendering, for example CRI 90 or higher.
Assess brightness correctly: don't just compare watts
With LED light strips, watt per meter is just the electrical power consumption. The decisive factors for the amount of visible light are lumens per meter, beam angle, coverage, installation depth and reflection surface. An LED strip in a matt aluminum profile, for example, appears significantly softer, but also slightly less bright than an open-mounted strip.
As a rough guide, lower light outputs are usually sufficient for pure accents, while significantly more light is needed for work lighting. The following values are not a standard, but practical planning ranges that should be adjusted depending on the distance, surface and profile.
| Light task | Rough orientation | Typical application |
|---|---|---|
| Orientation light | approx. 100 to 300 lm/m | Base, bed edge, stairs, night light |
| Mood lighting | approx. 300 to 600 lm/m | TV background, shelf, indirect niche |
| Accent light | approx. 500 to 900 lm/m | Showcase, wall niche, decorative furniture edge |
| Functional light | approx. 800 to 1200+ lm/m | Kitchen base, workbench, desk area |
If you are unsure, it is better to choose a more powerful light strip with good dimming rather than a solution that is too weak and will later have to run permanently at full power. Good dimming makes light more flexible, protects the eyes and helps to get different moods out of an installation.
Plan dimmable: strips, power supply and control must fit together
The indication dimmable alone is not enough. With LED light strips, the function is created by the interaction of the LED strip, power supply or driver and control. If a component doesn't fit, the light can flicker, hum, only react in small steps or suddenly go out at the bottom.
Three types of control are particularly common for furniture and niche lighting:
- Remote control or inline controller: Practical for retrofitting, furniture and decorative lighting zones because no wall installation is necessary.
- Wall switch with compatible dimmer: Useful for permanently installed solutions, but should be planned with a suitable dimmable power supply.
- Smart controller: Suitable when multiple lighting zones, scenes or schedules are desired, such as in open living areas.
The power reserve is also important. First calculate the total length and multiply this by the power per meter. A five meter long strip with 10 watts per meter requires at least 50 watts. In practice, a reserve is often planned so that the power supply does not constantly work at its load limit.
Longer distances can also cause a voltage drop. This means: The end of the light strip appears darker or has a slightly different color. For longer LED routes, suitable cross-sections, shorter segments, power supply from both sides or a well-thought-out 24-volt system help. For fixed 230-volt connections, installation should be carried out by a qualified specialist.
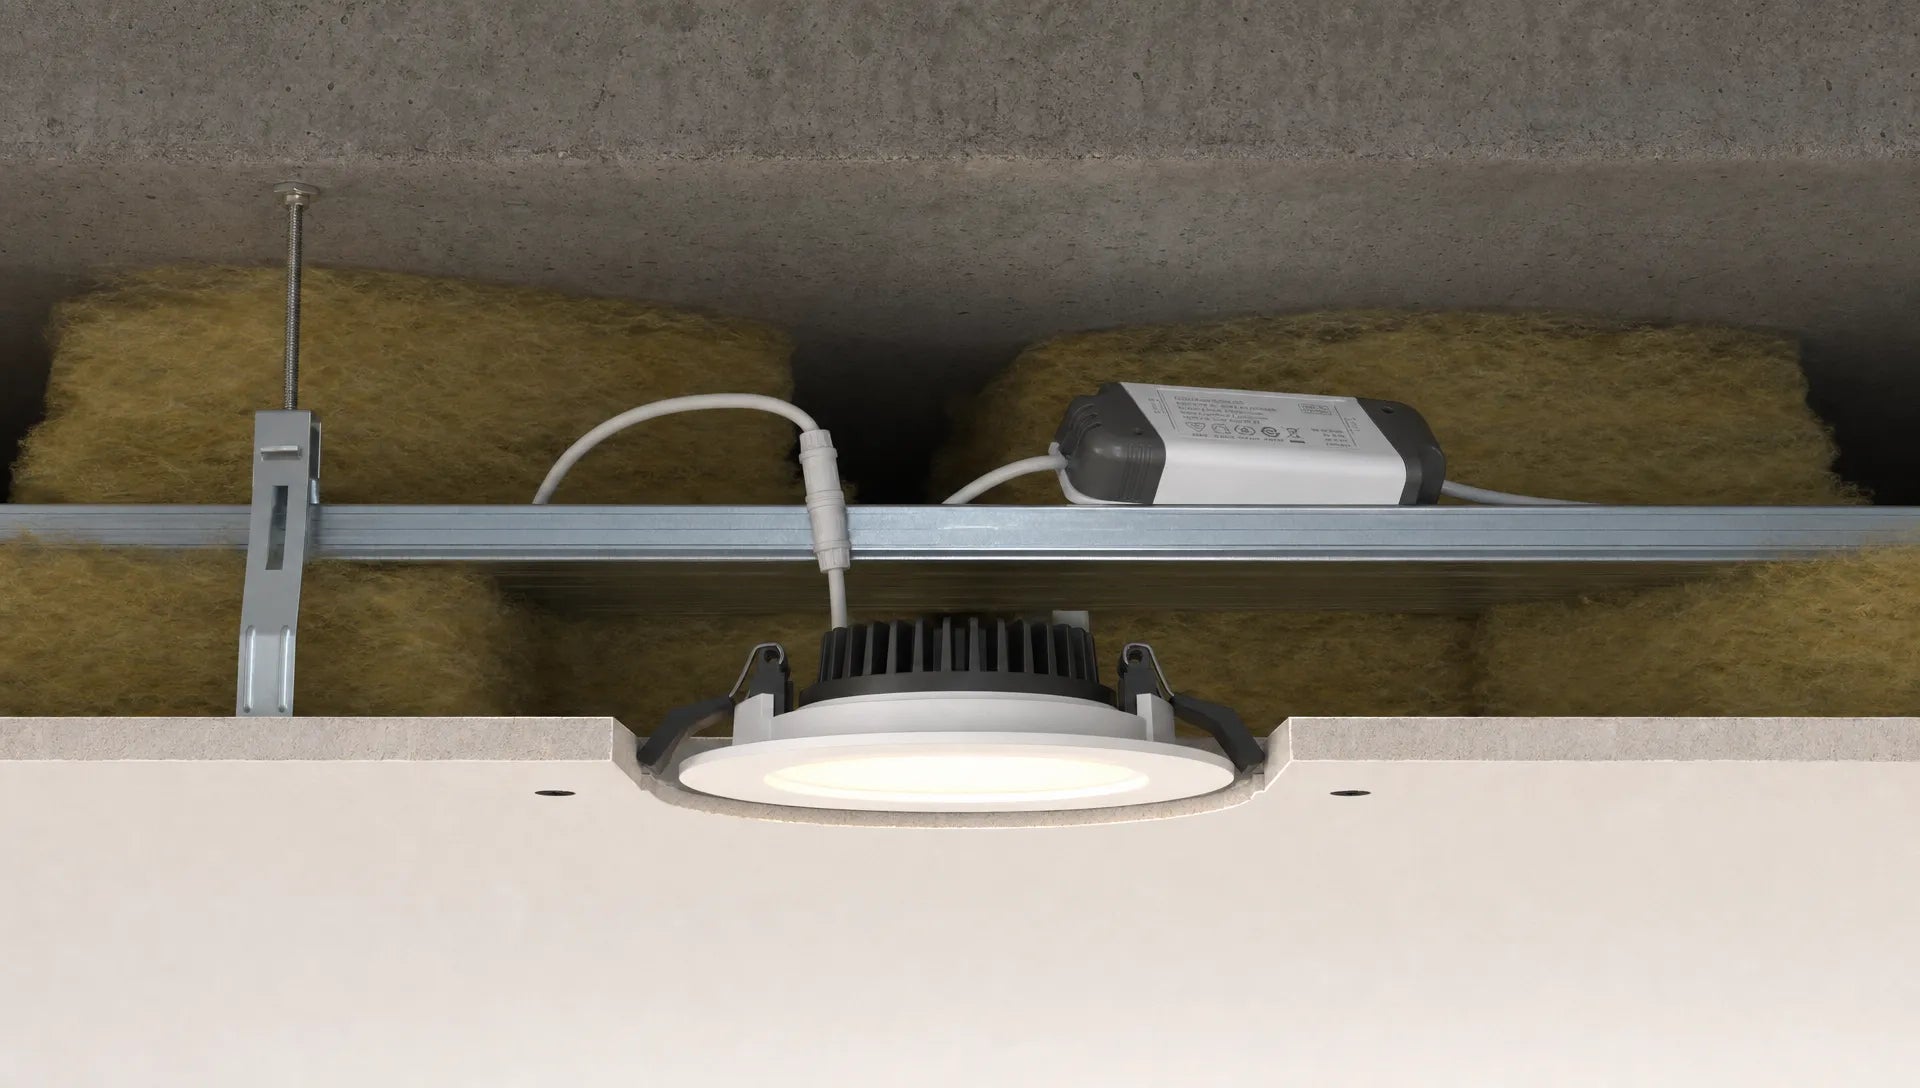
If you also include ceiling light in your concept, it is worth taking a look at the basics dimmable LED ceiling lights, because there too, the compatibility of the luminaire, driver and dimmer determines the quality of light.
Profiles, covers and installation depth: the difference between a DIY solution and designer light
A high-quality LED light strip rarely consists of just one strip. An aluminum profile is almost always the cleaner solution, especially in furniture and niches. It protects the strip, supports heat dissipation and, with a suitable cover, ensures a more even light image.
Transparent covers let more light through, but show light spots more clearly. Opal or milky covers diffuse light more softly but reduce brightness. If the light strip is mounted visibly, a profile with a diffuse cover is usually more elegant. If the strip is hidden behind an edge and only shines indirectly, the cover may be less important depending on the dust and contact protection.

For particularly homogeneous lines, the deeper the profile and the closer the LEDs are arranged, the fewer individual light points are visible. A so-called dot effect can occur with very flat profiles, especially on shiny surfaces such as glass, paint or polished stone.
Planning furniture lighting: position, viewing angles and cable routes
When it comes to furniture, the best lighting position is not always the most obvious. An LED strip in the middle under a shelf can catch the eye. A slightly recessed installation behind the front edge often appears to be of higher quality because the light falls on the surface without causing glare.
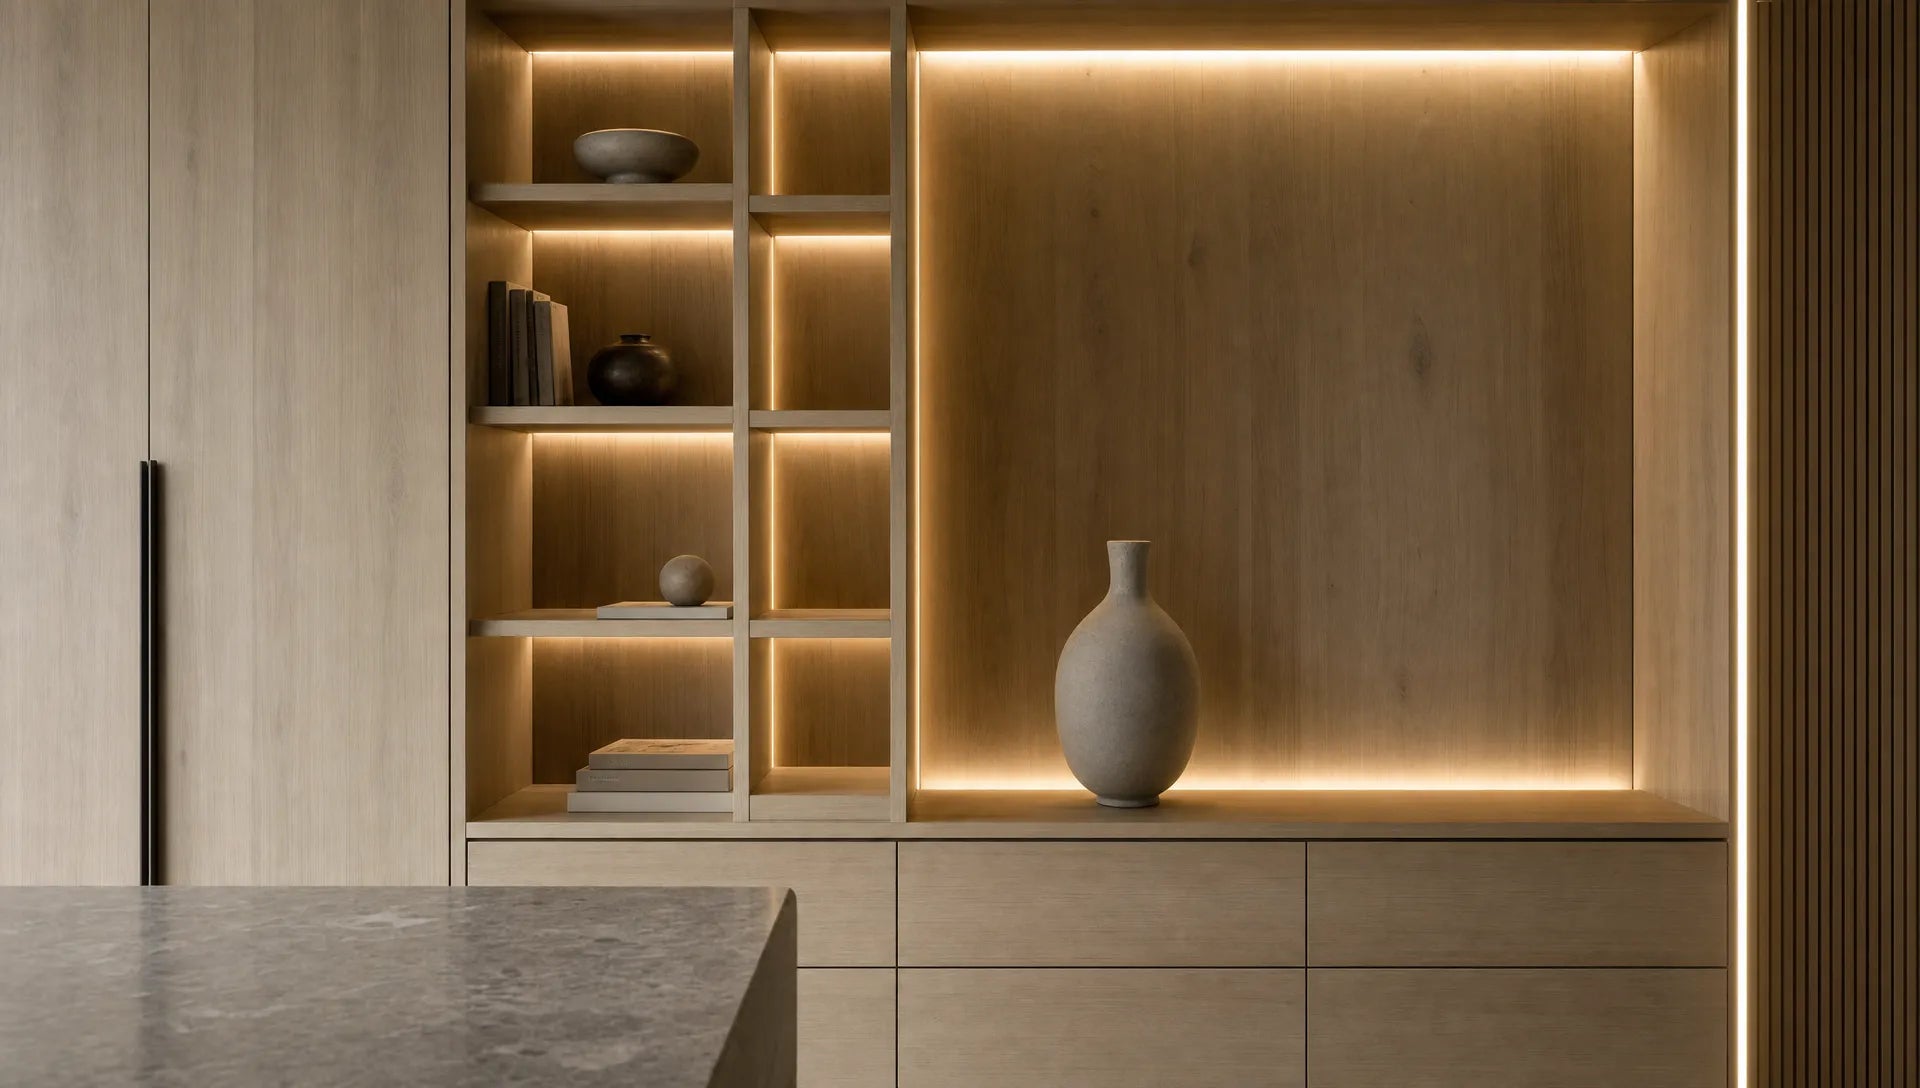
In open shelves and showcases, you should decide early on whether each compartment will be illuminated individually or whether vertical lines of light will supply several compartments. Individual compartments appear more precise, but require more cable routes. Vertical stripes are easier to plan but produce a different light distribution.
These points are particularly important for cupboards and kitchen furniture:
- Door and drawer movement: Cables must not be crushed, bent or carried visibly.
- Cleaning and touch: Profiles should sit in such a way that they are not constantly bumped into or dirty.
- maintenance: The power supply and controller must remain accessible, even if they are visually hidden.
- Glare: Test the line of sight when standing and sitting, especially on sideboards, beds and low shelves.
For flexible colored accents, a product like this can be used LED strips colored with remote control be an uncomplicated solution, for example behind furniture, on the TV area, under the bed or around windows. For permanently integrated furniture projects, you should also check how cable routing, fastening and desired brightness control fit into the specific installation situation.
Niche lighting: consciously use depth and shadows
Niches thrive on light and shadow. An LED light strip should therefore not simply be glued in so that it can be seen from the front. It is better to hide the light source so that the back wall, side wall or ceiling surface of the niche is illuminated. This creates depth without the technology coming to the fore.
Side or top lighting often works very well in wall niches. A light strip on the upper front edge shines backwards and downwards, softly emphasizing decoration or wall structure. Side mounting can create a stronger line effect and is particularly suitable for narrow, high niches.
When it comes to niches, pay attention to the surface. Matt, bright surfaces spread the light evenly. Dark or rough materials absorb more light and may require higher power. Glossy surfaces can reflect points of light or profiles, which should be taken into account when planning.
If you don't want to integrate a physical light strip into a niche, but rather want to create graphic light lines on the wall, this is LED strip lamp X-Beam Pro an independent alternative. It projects four rectangular LED strips onto the wall and can be adjusted 360 degrees after installation, which can be particularly interesting for modern wall accents.
Combine light color, color effects and scenes sensibly
Not every LED light strip has to be colored. In many high-quality interiors, warm white, well-dimmed light appears calmer and more long-lasting than constantly changing colors. RGB or colored solutions are particularly suitable for accent areas, gaming zones, teenagers' rooms, party rooms or flexible mood images.
For living and dining areas, conservative planning is usually more pleasant: warm white basic ambience, dimmable accent zones and, if necessary, individual colored effects. In open floor plans, LED light strips should harmonize with pendant lights, ceiling lights and wall lights. If you use spots as additional accents, you will find additional planning information in the guide to dimmable LED spots on ceilings and walls.
A good scene is not just about brightness, but about contrast. A shelf can be brighter than the wall behind it. TV backlighting should not dominate. A night light in the base area must be able to be dimmed down very low so that it does not cause a disturbance.
Avoid typical planning mistakes
Many problems with LED light strips are not caused by bad products, but by a lack of coordination. The brightness is particularly often underestimated or the installation location is determined too late. Then cables are visible, profiles are too short or power supplies cannot be reached.
Another classic is the false expectation of dimming. If an LED strip is combined with an unsuitable power supply or dimmer, the result can be disappointing. Heat dissipation is also often forgotten. Although LEDs get significantly less hot than classic lamps, they still benefit from a suitable profile, especially with higher power and long running times.
Before purchasing, these points should be clarified:
- How long is the light path really, including corners and interruptions?
- Where are the power supply, controller and, if applicable, receiver for remote control or smart control located?
- Should the light be directly visible or only have an indirect effect across a surface?
- Which light color suits the material, room function and existing lights?
- Does the area need to be protected against moisture, dust or contact?
In the bathroom, kitchen and other damper areas, additional requirements for protection class, mounting zone and electrical safety apply. You shouldn't improvise there.
Short checklist for planning
A dimmable LED light strip works best if you think of it like a small lighting system. Start with the desired effect, not the product. This is followed by dimensions, brightness, profile, control and power supply.
| Planning point | What to pay attention to? |
|---|---|
| Light task | Define orientation, accent, mood or work light |
| brightness | Compare lumens per meter instead of just watts |
| light color | Warm white for coziness, more neutral for function and closet areas |
| dimming | Check compatibility of strip, power supply and controller |
| Profile | Plan aluminum profile for cooling, protection and a clean look |
| Cable routes | Place the power supply and controller hidden but accessible |
| Assembly | Test glare, shadows and reflections in advance |
If you answer these points before purchasing, you will avoid rework and get a lighting solution that not only works, but also has an architectural effect.
Frequently asked questions
Which LED strip light is best for furniture? An LED light strip with an aluminum profile, diffuse cover and appropriate brightness for the task is usually suitable for furniture. Less light is often sufficient for decorative shelves, but more light is needed for kitchen base units or cupboard areas.
Is every LED light strip dimmable? No. An LED light strip is only dimmable if the LED strip, power supply or driver and control are compatible with each other. The product text should clearly state which type of dimming is supported.
Where should the power supply be located for furniture lighting? The power supply should remain invisible, well ventilated and accessible. It is inconvenient behind tightly closed back walls or in areas with no access because maintenance and replacement later become difficult.
How do I avoid visible light spots? Use a sufficiently deep aluminum profile with an opal cover and ensure a high LED density. Indirect installation also helps, where the light falls on a surface instead of being directly visible.
Which light color works best in niches? For living niches, warm white light around 2700 to 3000 Kelvin is usually harmonious. For functional niches, work areas or cupboards, more neutral light may make more sense.
Conclusion: Dimmable LED light strips are small details with a big impact
Planning a dimmable LED light strip for furniture and niches means thinking about the lighting effect, technology and installation together. The best solution is not automatically the brightest or longest, but the one that suits the use, the material and the room architecture.
If you want to combine your LED accents with high-quality lights throughout the room, see BUYnBLUE a curated selection of modern designer lighting. Particularly with pendant lights and chandeliers, free adjustment of length, canopy or color can help to tailor light precisely to the height of the room, floor plan and furnishings.