
LED ceiling lamp: This is how you plan bright light without glare
Bright ceiling light seems simple on paper: install a lamp and you're done. In practice, it often ends up with the opposite of “homely”: harsh shadows, bright points of light in the field of vision, reflections on table tops or shiny floors. This is exactly where good planning is crucial. One Lamp LED ceiling can illuminate a room evenly without causing glare if you think about the amount of light, optics and position together.
Understanding glare: Why “bright” doesn’t automatically mean “good.”
Glare occurs not only when a light is extremely strong, but also when it is extremely strong too high luminance (very bright, small areas of light) in unfavorable viewing angles.
Typical situations at home:
- Direct glare: You're looking at LED points, clear glass covers or open spots.
- Reflex glare: The light is reflected in the TV, high-gloss kitchen, dining table, tiles or picture glass.
- Contrast stress: The room is too dark overall, only the ceiling light is very bright. The eyes have to constantly adapt.
The solution is rarely “less light”, but rather differently distributed light.
Step 1: Define the goal (basic light, work light, accent) instead of “one light for everything”
The layering principle helps to ensure glare-free, bright light:
- Basic lighting (ceiling): uniform brightness for orientation.
- Work light (Zones): bright where you actually see or do something (kitchen, desk, bathroom mirror).
- Accent light (wall, shelf, pictures): reduces contrasts, makes the room quieter.
If you only plan one central ceiling light, it has to do everything, and that is exactly what often leads to glare.
Step 2: Calculate brightness so you don't oversize
Two values are sufficient for initial, practical planning:
- Lux (lx): Brightness on the surface (e.g. floor, table, worktop).
- Lumens (lm): Luminous flux of the luminaire.
The simple rule of thumb:
Total lumens = lux target × room area (m²)
Example: Living room 20 m², target 150 lx
20 × 150 = 3000 lm Total light in the room (as a basic value, depending on the furnishings, ceiling height and wall colors, plus reserve through dimming).
If you need more light, it is often more pleasant additional light sources to be supplemented (e.g. wall lights, Floor lamps), instead of choosing the ceiling light ever stronger.
Guide values for living spaces (orientation)
These values are conscious as Planning corridor thought, because daylight, wall colors and usage change a lot.
| Room/Zone | Typical Lux destination | Example lumen at 15 m² | Recommended light color | Anti-glare strategy |
|---|---|---|---|---|
| Living room (basic light) | 100-200 lx | 1500-3000 lm | 2700-3000K | Large light area, diffuse shade, dimmable |
| Kitchen (basic light) | 200–300 lx | 3000-4500 lm | 3000-4000K | Ceiling plus work light under cabinets |
| Kitchen (work surface) | approx. 500 lx | (zone light) | 3500-4000K | Light on the side/front, no reflection in the worktop |
| bathroom (general) | 200–300 lx | 3000-4500 lm | 3000-4000K | Diffuse ceiling structure, additional mirror light |
| Home office (work space) | approx. 500 lx | (zone light) | 3500-5000K | Glare-free positioned desk lamp, indirect additional light |
| bedroom | 50–150 lx | 750-2250 lm | 2700K | Dimmable, indirect components, no “naked” LEDs |
If you want to delve deeper into the units, the basics of lux and lumens are crucial for planning LED ceiling lights objectively (instead of guessing based on watts).
Step 3: Choose the right optics (this is the glare lever number 1)
When it comes to LED ceiling lights, that's what makes the difference Light exit surface about comfort.
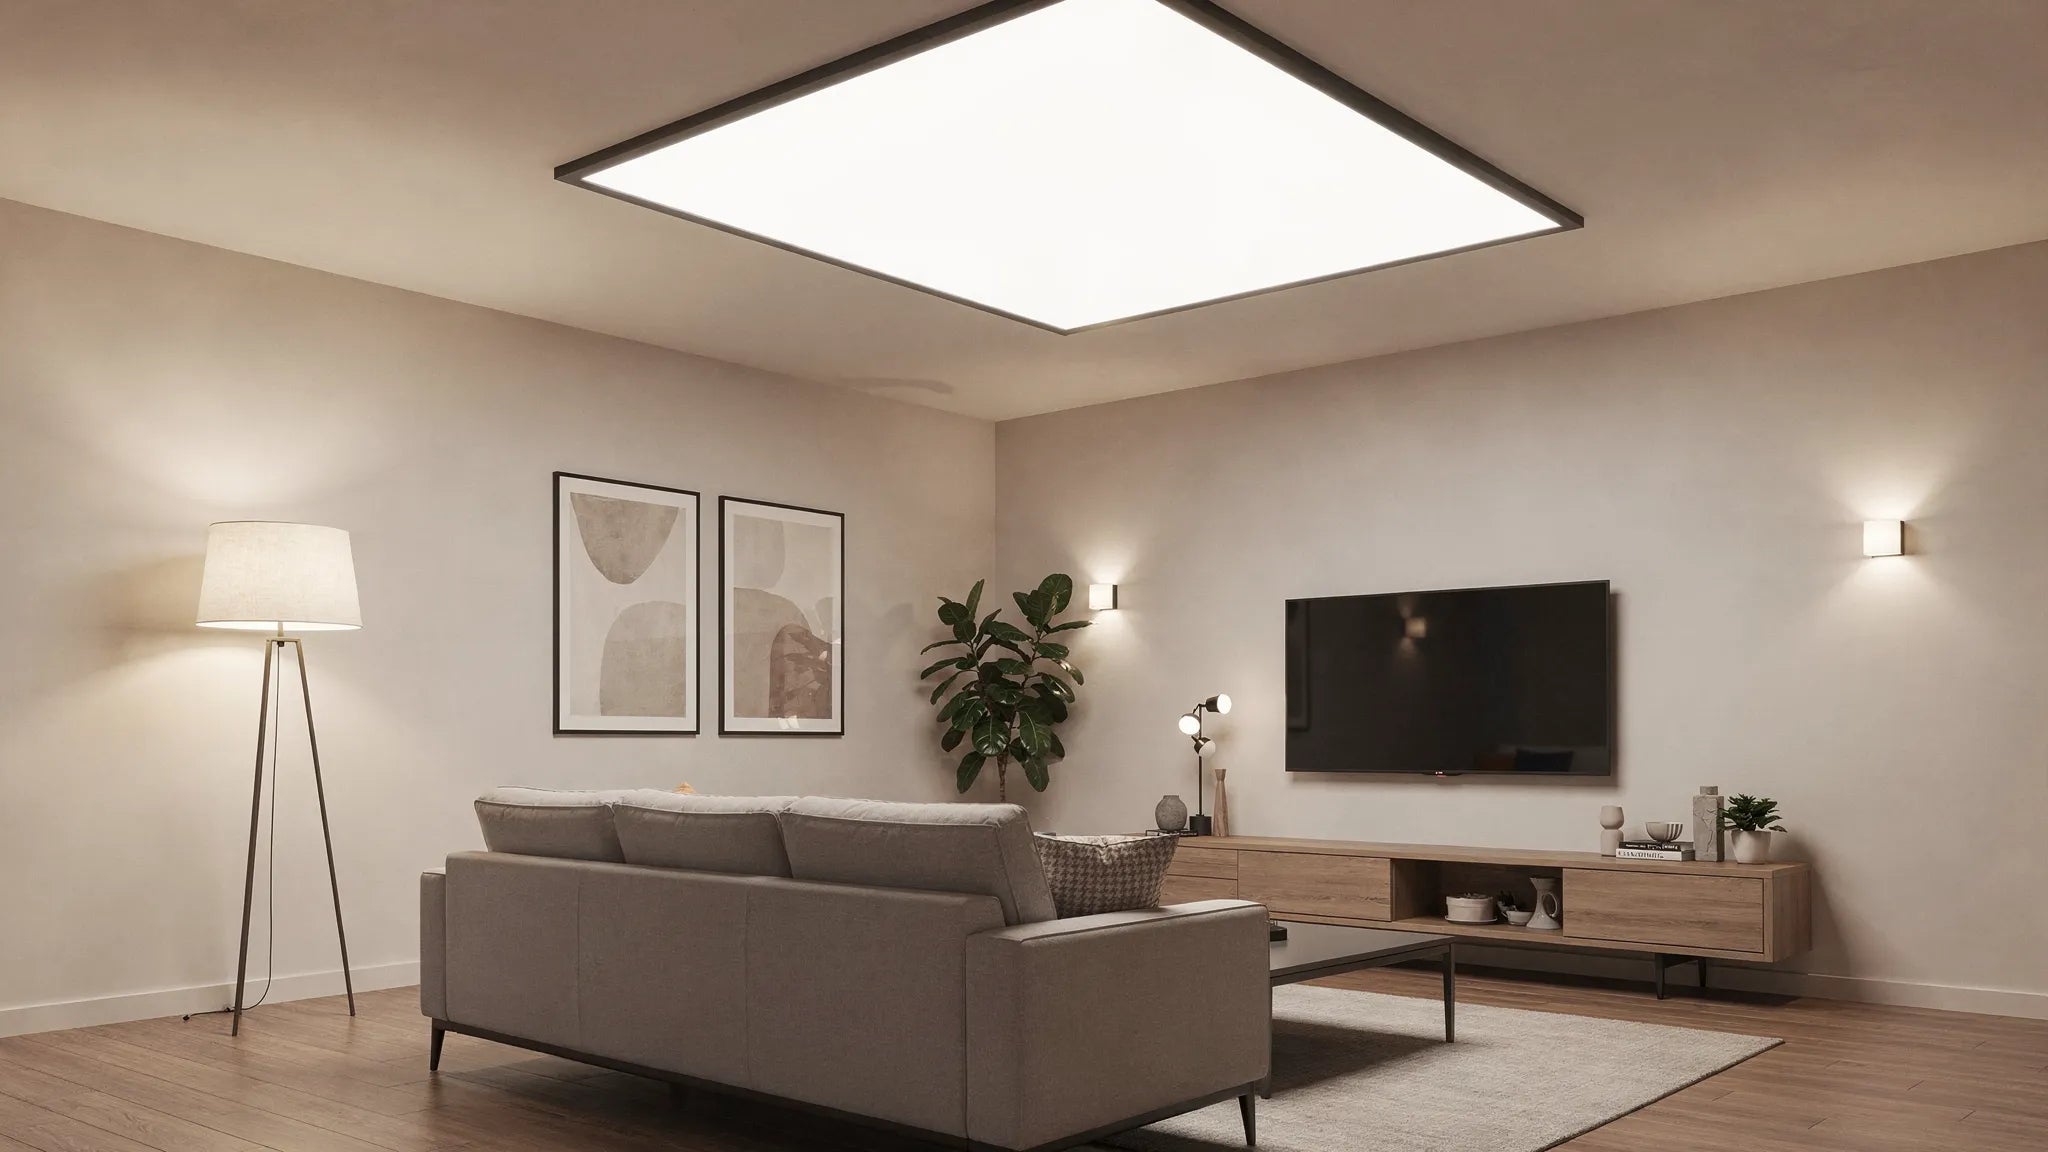
Very low-glare: diffuser, opal glass, textile shade
- Good for: living room, bedroom, hallway.
- Why: The light comes from a larger, softer surface.
- Important: High-quality diffusers avoid “hotspots” (bright spots) and ensure even illumination.
Technically low-glare: microprism, grid, deeply embedded LEDs
- Good for: kitchen, office, larger rooms.
- Why: The optics limit the beam angle in critical viewing directions.
- Note: In professional environments, glare is often rated via UGR (Unified Glare Rating). In the living area you won't always find the value in the data sheet, but the principle remains: Do not see the light source directly.
Common glare traps: Clear covers, open spots, “LED dot optics”
Such designs look minimalist but only work if they high enough hang, oriented laterally or to soften the contrasts using additional light sources.

Step 4: Position on the ceiling (so bright light doesn't hit your face)
1) Central is not always optimal
In rectangular rooms or open kitchen-living rooms, a single, central light often leads to dark zones. It is better:
- a larger, flat ceiling light,
- or several, weaker points of light,
- or a combination of ceiling light and wall light.
2) Check line of sight
Try sitting on the sofa, at the dining table, at the desk. The most important question:
Do you see the light source directly when you sit or walk normally?
If so, a deeper diffuser, a different type of light or a slight offset will help.
3) Avoid reflections (TV, mirror, high gloss)
You can usually solve reflected glare using the angle:
- Do not place the ceiling light exactly in front of the TV.
- Plan the ceiling light in the bathroom so that the mirror does not become a “spotlight” (add mirror light on the side or all around).
- In kitchens with shiny fronts, it is better to work with a diffuse ceiling light plus a work light.
Step 5: Choose the right light color and color rendering (for “bright” without harshness)
Kelvin: the right mood for each room
- 2700-3000K (warm white): Living rooms and bedrooms appear more relaxed.
- 3000-4000K (neutral): kitchen, bathroom, housekeeping, more functional.
Very cold white light (5000 K and more) can appear “bright”, but can quickly become clinical and harsh in living spaces, especially on shiny surfaces.
CRI: so that materials look high quality
A high CRI (color rendering index) ensures that wood, textiles and skin tones appear more natural. For living rooms and areas where you see yourself in the mirror or prepare food CRI 90+ a reasonable target value if available.
Step 6: Dimming is not a luxury, but glare insurance
If you only have one scene (“on or off”), you automatically plan for the worst case scenario. With a dimmer (or smart dimming) you can Install lots of light, but only use as much as you need.
Practical scenes:
- Cleaning, searching, tidying up: bright
- Everyday life: medium
- TV, visitors, evening: dimmed plus accent lighting
Make sure that with LEDs Light, driver and dimmer fit together, otherwise there is a risk of flickering or poor dimming behavior.
Step 7: 3 typical room cases and the appropriate LED ceiling solution
Low ceilings (old building, hallway, bedroom)
- Flat, diffuse ceiling light or indirect light cove.
- No open spots in direct view.
- Plan warm white and dimmable.
Open kitchen/living room
- Basic light above the ceiling evenly, work light separately.
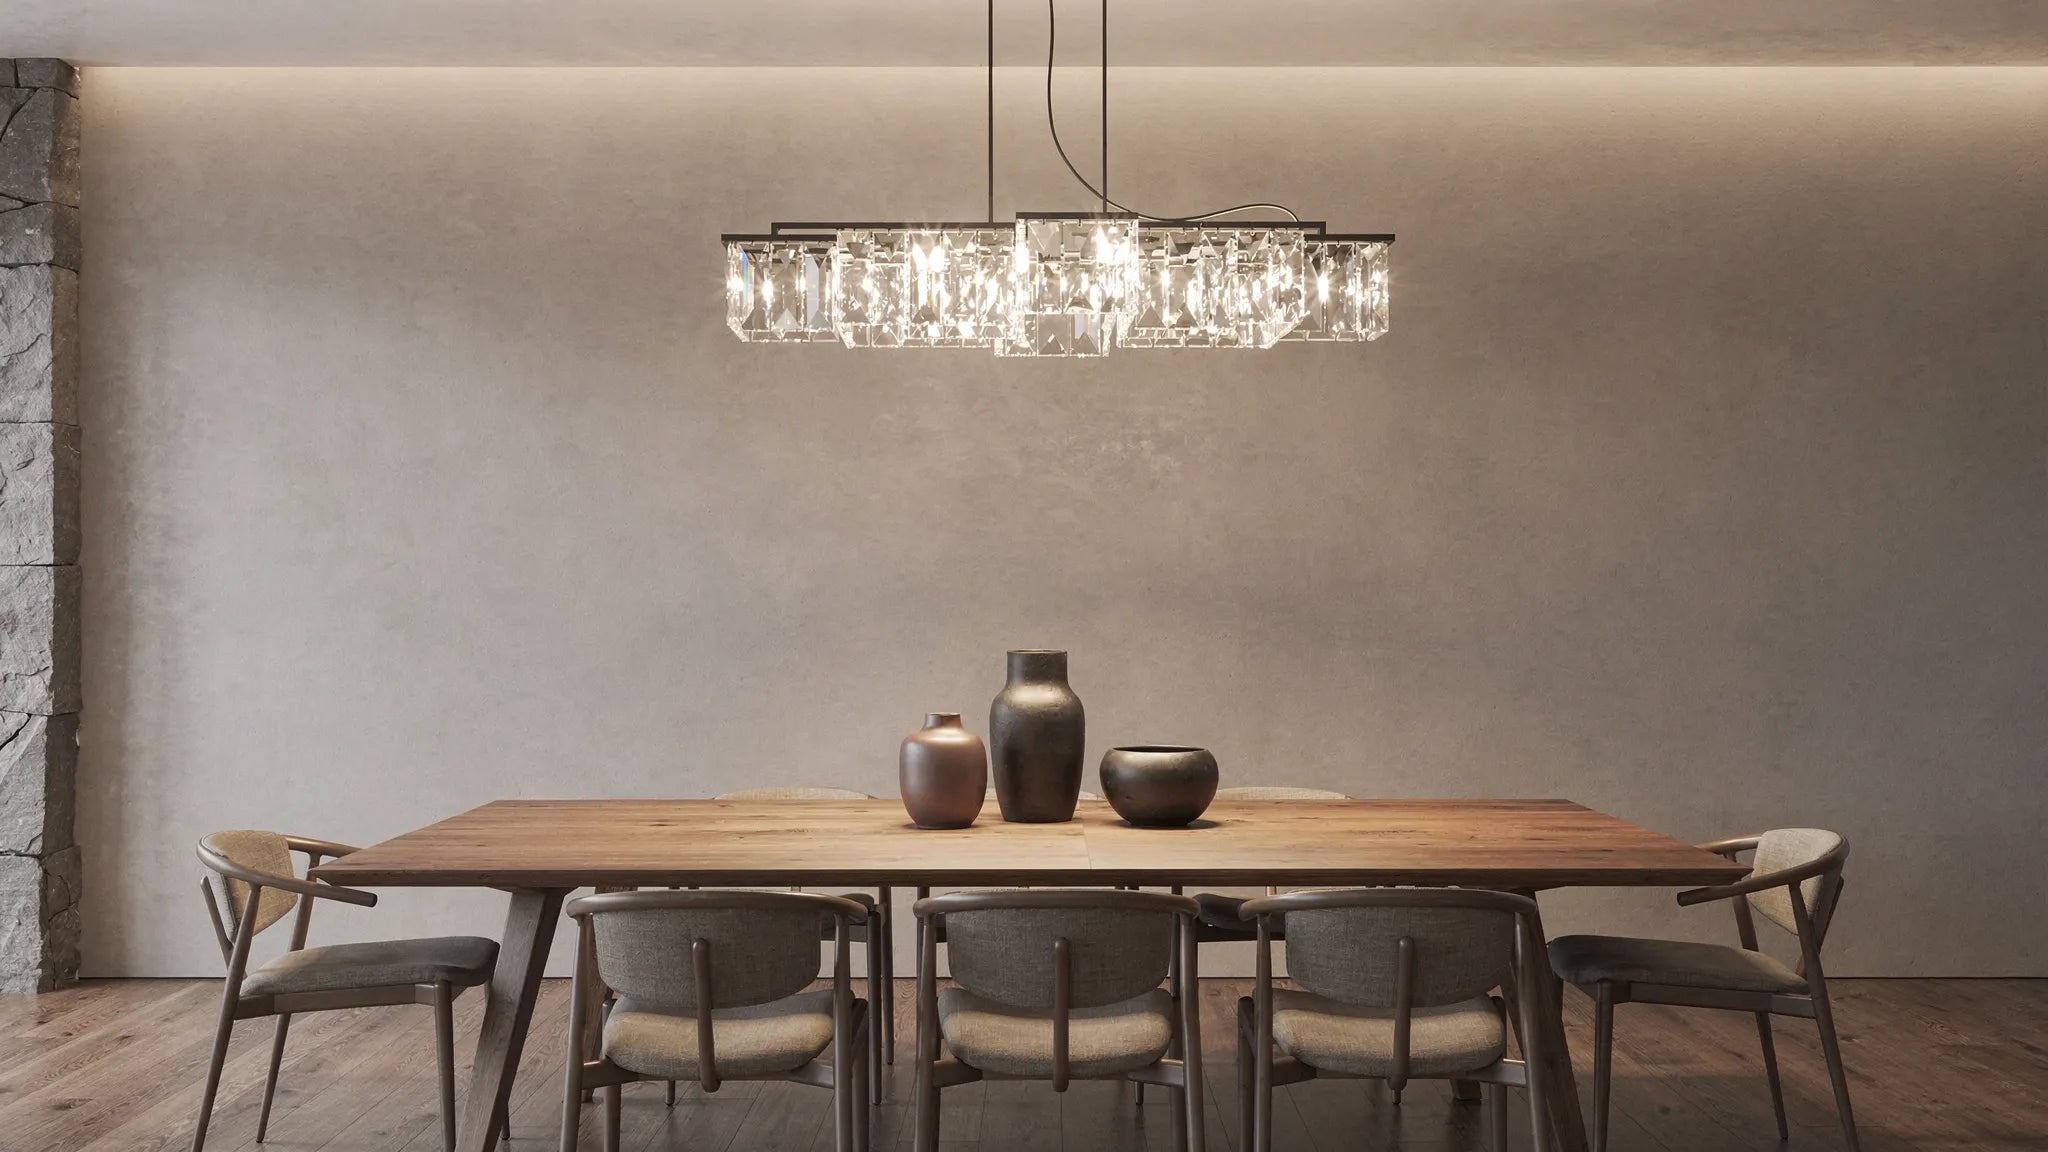
- Work with pendant lights across zones (island, dining table), ideally adjusted in height or length.
- Test reflections on the worktop and fronts.
Home office in the living room
- Ceiling light as a “basic”, but not as sole work lighting.
- Glare-free desk lamp plus indirect additional light reduces contrasts and makes the screen more pleasant.
Mini check: This is how you can see whether the ceiling light is low-glare before you buy it
A quick quality check (without getting lost in the data sheet):
- The light source is not directly visible (or significantly reset).
- There is one Diffuser/opal cover or glare-limiting optics.
- The light is dimmable (or dimmable available).
- The manufacturer provides clear light data (lumens, Kelvin, ideally CRI).
Renovation tip: Planning light also means planning logistics
If you're coordinating larger renovations (e.g. multiple rooms, construction site storage, material handling), it may make sense to consider robust storage and transport solutions early on. For projects in the USA, some builders and companies use sources such as Bulk Pallets for Saleto procure pallets and warehouse goods for shipping and construction site organization.
Frequently asked questions (FAQ)
How many lumens do I need for an LED ceiling lamp in the living room? For many living spaces, a target of around 100 to 200 lux is suitable as a starting value. Multiply that by the area (m²), for example 20 m² × 150 lx = approx. 3000 lumens of total light. Dimming makes planning much safer.
Which is better against glare: more lamps or a strong ceiling light? Multiple light sources are usually more pleasant. A very strong central ceiling light increases contrast and the risk of glare. Basic light plus zone light (floor, wall, work light) is better.
Which Kelvin number is ideal for ceiling light? For living rooms and bedrooms, 2700 to 3000 K usually seems most comfortable. In the kitchen and bathroom, 3000 to 4000 K is often more practical.
How do I prevent reflections on the TV? Avoid placing the ceiling light in the mirror axis of the screen. A slight offset, a more diffuse light emission or additional indirect light behind the TV often helps.
Are LED spots on the ceiling always dazzling? Not necessarily. Spots can be very comfortable if the LED is located low, good optics (e.g. glare-limiting) are installed and they are not in typical viewing directions.
Why are dimmable ceiling lights so important? Because it gives you plenty of light during the day or when cleaning, but you can dim it down in the evening without glare and without harsh contrasts. It is the easiest way to combine “brightly planned” and “pleasantly used”.
Designer ceiling light that really fits (even with difficult ceiling heights)
If you're looking for a modern ceiling solution that not only looks good in the photo, but works in your floor plan, it's worth taking a look at the approach BUYnBLUE: a curated selection of designer lights with high-quality materials and clean lighting effects.
Particularly helpful for pendant lights and chandeliers: BUYnBLUE offers free customization, for example the cable length, canopy or color, so that the luminaire matches the ceiling height and room layout. Come to this free shipping worldwide, 14 day return policy and support if you are unsure about measurements or selection.
Do you want to plan your ceiling light without glare and still get it really bright? Then browse buynblue.com for modern ceiling lights, pendant lights and tailor-made solutions for your project.