Use dimmable LED spotlights to illuminate pictures
If you are looking for “dimmable LED spotlights” for illuminating pictures, you need more than just a bright spot. What matters is how the light hits the subject, whether colors appear believable and whether the brightness can be reduced to suit the room. With framed photographs, reflections are added, while sensitive originals are protected from changes caused by light.
Good image lighting makes the subject visible without attracting attention. To achieve this, the position, beam angle, light quality and dimming must all match. With the following planning, these points can be specifically checked before you buy lights or decide on ceiling outlets.
Pictures need different light than the rest of the room
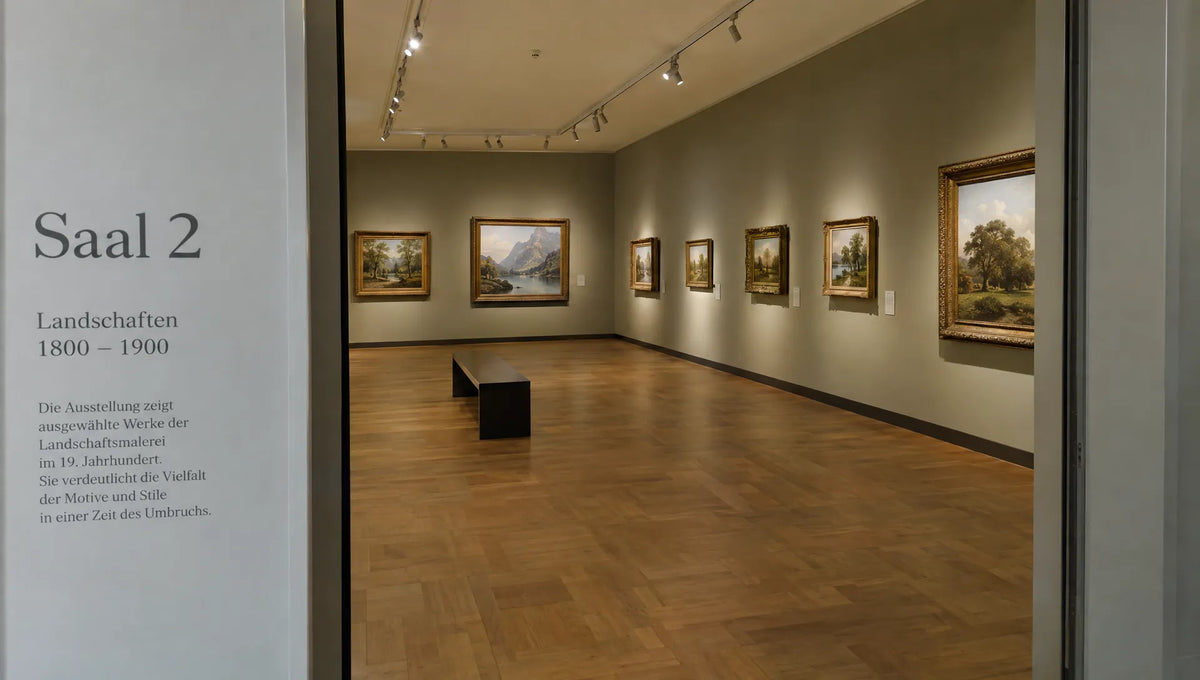
A ceiling light can pleasantly illuminate a living room and still hardly highlight the picture on the wall. It distributes light throughout the room, while a spotlight highlights a specific area. This directional lighting allows colors, structures and details to be seen more clearly.
More brightness is not automatically better. A very bright spot of light attracts the eye, but can outshine a small subject and look uncomfortable next to a dark wall. Moderate accent lighting usually suits a living space better than a strong contrast between the image and the surroundings.
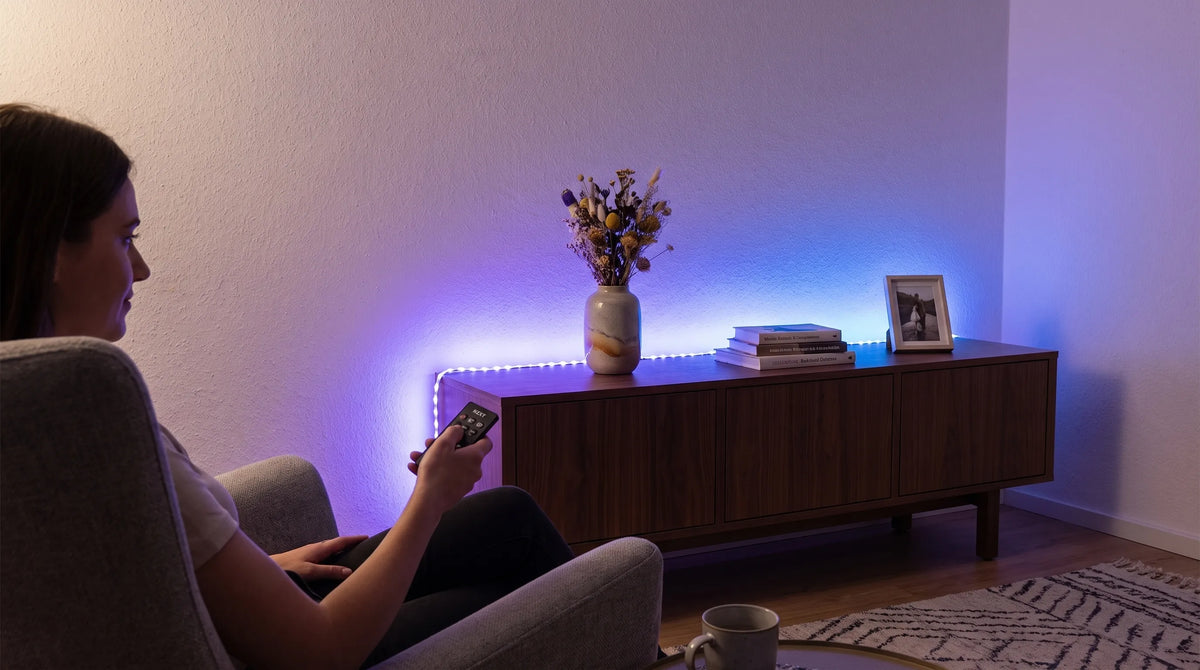
Dimmability is therefore particularly useful: during the day the spot supplements the existing light, and in the evening its brightness can be adjusted to the dim room lighting. Image light and general lighting should be controlled separately if possible.
If you have several pictures, it is also worth planning together. Frames of the same size do not necessarily have to be illuminated with the same brightness: a dark painting reflects less light than a light drawing. Therefore, compare the effect of the motifs from the usual viewing position, not just the settings of the spotlights.
“LED spotlight dimmable”: Which technical details count
The wattage and the “dimmable” label alone are not enough for the selection. The power consumption does not indicate how much light actually reaches the image. The dimmability must also match the intended control.
This information helps with comparison:
| feature | Useful starting point | Importance for image lighting |
|---|---|---|
| Color rendering | Ra or CRI from 90 | Supports a natural representation of image colors |
| color temperature | Often 2,700 to 3,000 Kelvin in living areas | Usually suits warm room lighting |
| Beam angle | Select by image format, distance and orientation | Determines the size and distribution of the light cone |
| adjustability | Pivotable and, if possible, rotatable lamp head | Makes it easier to align precisely with the subject |
| Dimming method | Suitable for lamps, drivers and controls | Requirement for reliable dimming |
| Photometric information | Light intensity or illuminance at a defined distance | More meaningful for the image surface than Watt alone |
Do not confuse light color and color rendering
The color temperature describes whether the light appears warm or more neutral. Color rendering, on the other hand, describes how colors are reproduced under this light. A warm white spotlight can also have high color rendering.
For living spaces, 2,700 to 3,000 Kelvin is a good starting point. In a neutrally lit room, 3,500 to 4,000 Kelvin can also be appropriate. Check the interaction with the wall color, furnishings and motif instead of generally determining one light color as the best.
Ra 90 is a helpful selection size, but is not a guarantee of perfect reproduction of every pigment. For pronounced red tones, a specified R9 value can also be interesting. If an LED spotlight is dimmable and has high color rendering, the brightness can be adjusted without having to accept poor color quality.
Position the spotlight correctly in relation to the image surface
Around 30 degrees from vertical as a starting point
For ceiling spots, an angle of incidence is approximately 30 degrees to vertical a common planning starting point. What is meant is the angle between the downward vertical and the light axis to the image, not an angle of 30 degrees to the wall normal.
This means that the light hits the subject at an angle from above. The position can help limit distracting reflections and shadows, but is not a substitute for on-site inspection. Glass, frame profile, image surface and viewing position influence the result.
The required distance to the wall can be roughly calculated:
Wall distance = height difference between light source and center of image × tan(30°)
If the light source is at 2.60 meters and the center of the image is at 1.50 meters, the height difference is 1.10 meters. This results in a wall distance of around 0.64 meters. For a suspended light, it is the actual height of the light source that counts, not the ceiling height.
Treat this value as the starting position. A deep frame can cast shadows on the top of the image and a glossy surface may require a different orientation.
Select beam angle according to image size
A narrow beam of light is more suitable for small subjects or larger lighting distances. For wide images or a short distance, a wider light distribution is usually required. Actual angles vary depending on the product, so manufacturer information and light distribution curves are helpful.
On a wall illuminated at an angle, the light cone does not simply appear circular. It becomes distorted and the brightness can be uneven across the screen. Pay particular attention to the top and bottom corners.
If you use dimmable LED spotlights, you can weaken a beam of light that is too bright. However, incorrect light distribution cannot be corrected by dimming. If the center remains bright and the edges are barely reached, you need a different beam angle, a different position or a second light.
For a wide landscape format, two weaker spots can have a more even effect than a single strong spotlight. Your light cones should complement each other so that there is no noticeable bright overlap.
Practical example: Illuminating a framed picture in the living room
Let's say you want to highlight an 80 centimeter wide and 60 centimeter high art print above a sideboard. The center of the image is 1.50 meters, the light source on the ceiling is 2.60 meters. The frame has a glass pane.
The calculated distance of around 64 centimeters from the wall serves as an initial orientation. Then check whether a single adjustable spot reaches the image surface sufficiently evenly. A medium beam angle can be a useful test point, but its suitability depends on the specific optics.
Follow these steps to fine-tune:
- Switch on room lighting: First set the lighting mood in which you normally view the picture.
- Align the spotlight: Aim the light cone at the subject and control the illumination right up to the edges.
- Check reflections: View the picture from the sofa, from the entrance and from a standing position. If reflections are visible, change the orientation or position.
- Reduce brightness: Dim the spot until the image remains clearly visible but does not stand out uncomfortably from the room.
When renovating, the position can be tested with a temporary, suitable light before final drilling. Mains connections and fixed electrical installations belong in the hands of a qualified electrician.
If you are planning a dimmable LED spotlight as a recessed light, the installation depth, ceiling structure and the manufacturer's installation specifications must also fit. The guide to Selection of flat dimmable LED recessed spotlights complements these structural questions.

Dimmer and light must fit together
“Dimmable” does not mean that a spotlight works with every existing control. If a lamp has a replaceable light source, it must be dimmable. With integrated LED modules, the driver decides, among other things, which dimming method is supported.
A wall dimmer for phase control or phase control must explicitly match the lamps or drivers used. DALI and other control methods require appropriately designed components. Minimum load, maximum LED load and the number of connected lights can also be relevant.
The behavior at low brightness is particularly important for image lighting. A spot that only shines cleanly at a high setting is not very suitable for subtle evening accent lighting. Check whether it works stably in the desired lower range, without visible flickering, annoying humming or sudden switching off.
A dimmable LED spotlight with a “dim-to-warm” function also changes its light color when dimmed down. This can be pleasant in the living room, but it also changes the perception of the image colors. If you want the subject to appear as similar as possible at different brightness levels, a fixed color temperature is often the more appropriate choice.
The article also explains the technical connections between lamps, drivers and controls. what is important with dimmable LED lights. Targeted alignment also remains crucial for your image.
Protect sensitive images from too much light
LED light is not automatically harmless
Visible light can also permanently change colors and materials. Works on paper, watercolors, textiles and some photographs react sensitively. How quickly changes occur depends, among other things, on the dyes, material and previous exposure to light.
This Canadian Conservation Institute explains the risks of light, UV and infrared radiation. For light-sensitive collection objects, an illuminance of around 50 lux is a common conservation guideline. However, it is neither a universal release nor a guarantee against damage.
For valuable originals, the permissible lighting should therefore be coordinated with a restorer. Oil paintings are not fundamentally insensitive; their materials and pigments can react differently.
Reduce brightness and lighting duration together
When it comes to light protection, it's not just the current brightness that counts, but also the duration. The light dose can be viewed as the illuminance in lux multiplied by the time in hours: 50 lux over four hours results in 200 lux hours, 100 lux over eight hours already equals 800 lux hours.
If an LED spotlight is dimmable, the illuminance can be reduced. It also makes sense to turn off the picture light when no one is using the room. Direct sun should be avoided on delicate works, even if the electric spotlight is set to low.
A dimmer display of 20 percent does not automatically mean 20 percent of the original illuminance in the image. For reliable values, you need a suitable lux meter and measurements at several points on the image surface. Smartphone apps can only provide a rough guide and are no substitute for reliable measurements for originals that require protection.
Frequently asked questions about dimmable picture lighting
Which light color is suitable for pictures in the living room? 2,700 to 3,000 Kelvin is often suitable for warm living room lighting. High color rendering and the effect on the specific motif are also crucial. A more neutral light color can be useful in appropriately lit rooms.
How far should the spotlight be from the wall? This depends on the height difference between the light source and the center of the image. With a height difference of 1.10 meters, an angle of 30 degrees to the vertical results in around 64 centimeters of distance from the wall. Then check reflections, frame shadows and the illumination of the edges.
Can I continue to use an existing dimmer? Only if it matches the lamp or LED driver and the connected load. Manufacturer information and compatibility lists are the most important clues. Have the electrical design checked if necessary.
Is a single spotlight enough for a large image? Not always. For a wide subject, two properly aligned spots can achieve a more even distribution. If you use dimmable LED spotlights, the common brightness can then be adjusted to the room lighting.
Does dimming prevent images from fading? No. It can reduce the light dose but does not eliminate the risk. For sensitive work, daylight, lighting duration and material must also be taken into account.
Design image light and room lighting together
First plan the position and light distribution, then the desired brightness and control. This way you avoid trying to compensate for unfavorable alignment with a stronger light source.
For a harmonious overall concept, you can use the image lighting Light selection from BUYnBLUE vote. Please pay attention to the technical data provided for each model. The decisive factors are the right light quality, usable dimming and a position from which the image remains visible without annoying reflections.