
Light is so much more than just a sparkle that makes a room bright, isn't it? It determines how we feel, how stylish a room looks and whether everything is practical. LED strip lights for the ceiling are a real hit. They are modern, chic and don't tear a huge hole in your wallet. Whether it's the kitchen, hallway or bedroom - if you're looking for an affordable and elegant lighting solution, you've come to the right place.
Don't worry, it's not rocket science! I'll show you some cool ideas, a few clever tricks and how you can create really stylish lighting with LED strip lights even without a bulging bank account. Sounds good? Then read on!
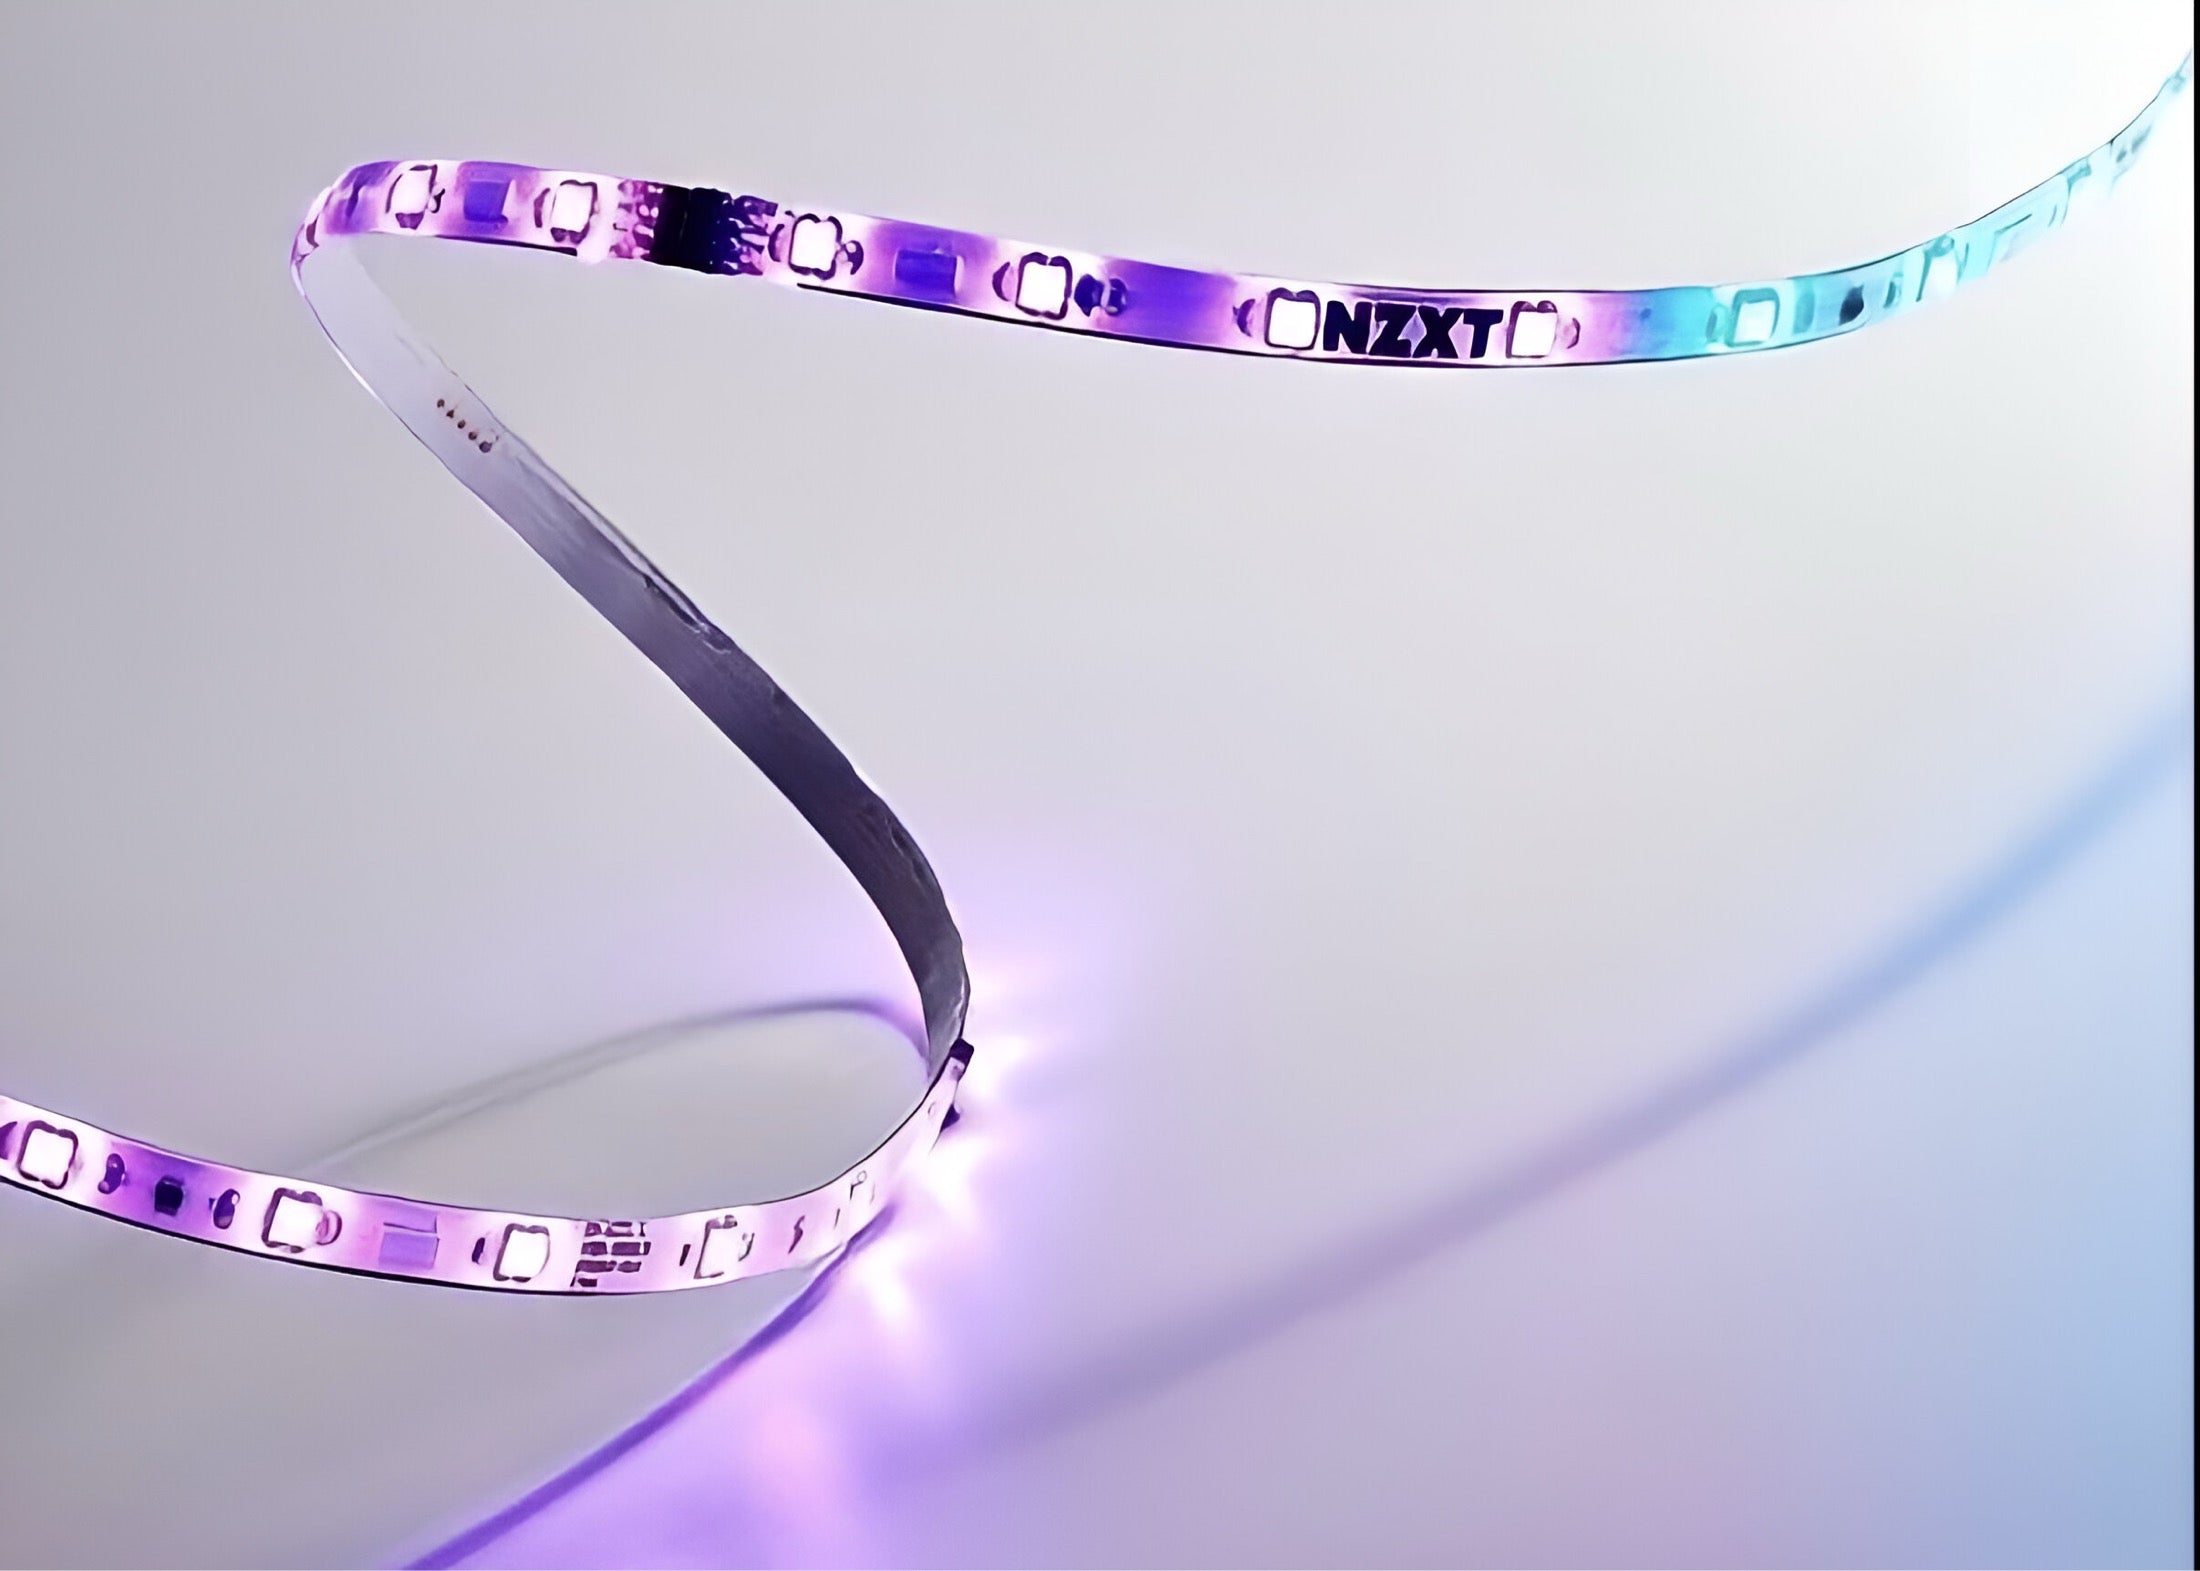
So, imagine: a flexible strip, packed full of small light-emitting diodes - these are LED light strips, sometimes also called LED strips. These things are super thin, lightweight and you can stick them almost anywhere. No wonder craftsmen and DIY fans are totally into them!
Why the ceiling? Well, because it's simply brilliant! You get:
With LED strip lighting, you can add a touch of luxury to your room without having to plunder your bank account. Whether you run chic light strips along the edges, conjure up hidden light niches or make your ceiling appear to float - it often only costs a fraction of what you would have to fork out for built-in spotlights or thick chandeliers.
Most LED strips already have adhesive tape on the back. And because they are so flexible, you can get them onto the ceiling really quickly and easily. In many cases, you don't even need an electrician for this - saving you nerves and money!
LEDs are real energy-saving wonders! They use up to 80% less electricity than the old light bulbs and still light up for 50,000 hours or more. This is not only good for the environment, but also for your wallet.
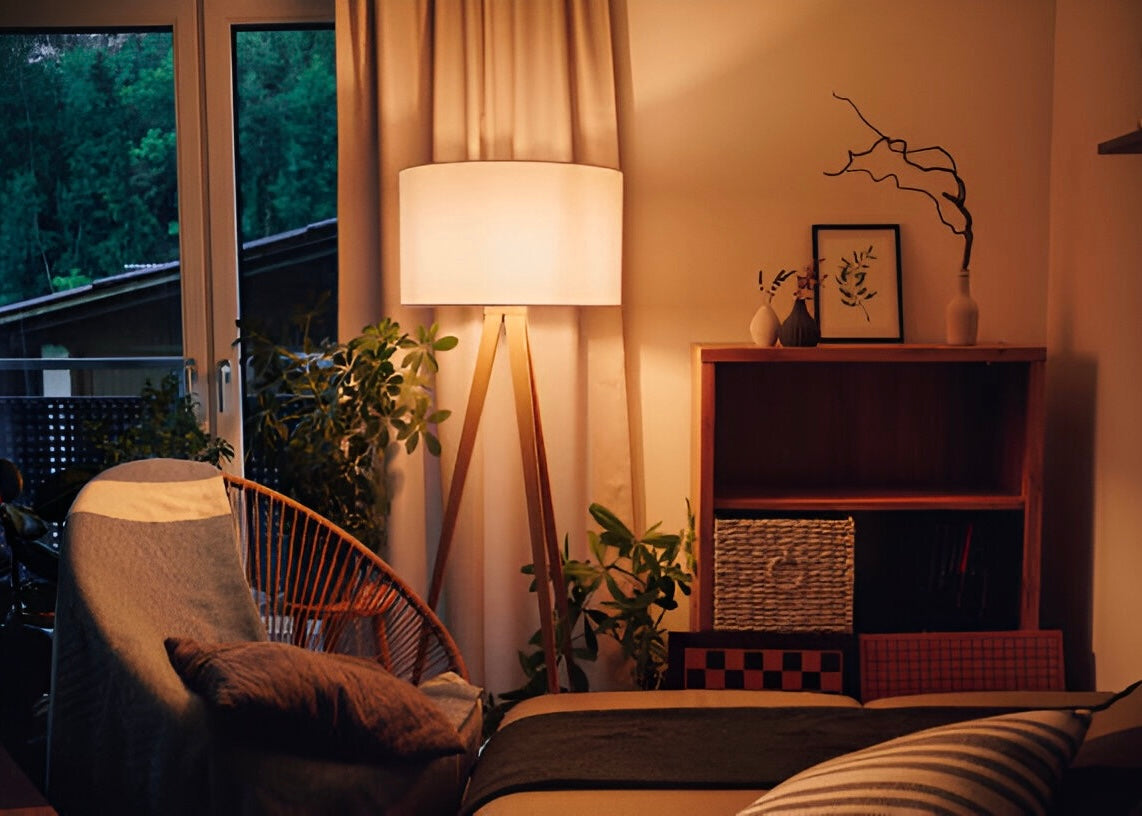
Sometimes cuddly warm white, sometimes cheerfully colorful - with LED strip lights, you determine the atmosphere. Many can be dimmed or even change color. Perfect for having the right light for every situation.
So, now it's getting concrete! Here are my favorite ideas on how to make your ceiling an eye-catcher with LED strips without getting poor:
You know that cool effect when the ceiling seems to float slightly above the room? You can achieve this by attaching LED strip lights to the edges of a suspended ceiling or under ceiling protrusions. This creates visual depth and width. You often see this in chic hotels, but it's also a real hit in your own living room or bedroom.
A little trick: use warm white light if you want it to be cozy. Cold white light, on the other hand, looks super modern and clean.
Simply attach decorative strips (stucco strips also work) to the edges of the ceiling and hide the LED strips behind them. This way, you won't see the light source itself, just the soft, indirect light. It looks totally professional!
Savings tip: PVC trim is often cheaper than wood, but still looks chic.
Perhaps you have old wooden beams on the ceiling or interesting niches? Simply surround them with LED strip lights! This will accentuate these architectural gems and give the room that certain something.
Extra tip: Dimmable strips with a remote control are worth their weight in gold here. Then you can adjust the brightness to suit your mood.
A cove is a kind of groove or recess in the ceiling, often along the edge. If you put LED strips in there, you get beautiful indirect lighting. It's a typical luxury feature that you often see in expensive apartments or wellness areas.
DIY hack: Your ceiling has no coving? No problem! Simply build a small channel for it using inexpensive polystyrene or plasterboard.
Want something a little more colorful? Then RGB LED strips are your thing! You can change the color using a remote control or even an app on your cell phone. Perfect for your home cinema, teen's room or gaming corner.
Luxury upgrade: Some strips can even be synchronized with music or films - for the full immersive feeling!
Who says that light always has to shine straight ahead? Why not stick the LED strips onto a smooth ceiling in geometric patterns or as a border around imaginary ceiling panels? This creates a totally futuristic, artistic look - and not everyone has one!
Professional advice: For very straight lines and a more elegant finish, you can place the strips in flat aluminum profiles.
Do you have a ceiling fan or chandelier that's getting a bit long in the tooth? Give it an upgrade by framing it with a discreet LED ring. This draws the eye to it and adds depth without having to buy a new lamp.
Budget solution: Soft, warm white LED light often works best here - minimalist, but still chic.
A mirror on the ceiling? Or a skylight, maybe even a glass insert? If you install LED strip lighting behind it, it looks like it's floating - totally magical! A little reminiscent of chic spa areas.
Trick 17: If you hide the LEDs behind frosted glass or matt acrylic glass, the light will be beautifully soft and even.
Make yourself comfortable and smart: LED strip lights that come on as soon as you enter the room. Super practical for hallways, walk-in closets or the bathroom at night. Not only is it convenient, it's also pretty stylish.
Even smarter: many systems can be linked to Alexa, Google Assistant & Co. Then you can even control the light on demand!
The real luxury feeling only comes when you can adjust the light as you wish. With dimmable LED power supplies, wireless remote controls or apps on your smartphone, you have full control over brightness and color.
Pro hack: Save different lighting scenes - for example "Dinner", "Reading light" or "Movie night". Then you have the perfect atmosphere with just one click.
To ensure that the result is really great, you should pay attention to a few things when buying LED strips. Not every strip is the same!
The brightness is specified in lumens (lm) per meter. The rule of thumb is
The color of light (measured in Kelvin, K) has a huge influence on mood:
The IP protection class tells you how well the LED strip is protected against dust and water. This is particularly important if you want to install it in the bathroom or kitchen.
Most LED strips for the home run on 12 volts or 24 volts. It is important that you always buy the right power supply unit (also known as a transformer or driver). They must fit together!
Don't worry, it really isn't rocket science. With a little preparation, you can do it easily!
Do you see? Not that difficult at all!
There are a few little things you should bear in mind so that you can enjoy your new ceiling lighting for a long time:
You can actually find good yet affordable LED strip lights:
My money-saving tip: Sometimes it's worth buying larger rolls or complete sets (with power supply unit and controller). This is often cheaper, especially if you want to equip several corners of your home with them.
You see, you don't have to be an interior designer or have a bulging bank account to spruce up your home with really chic, modern lighting. A little creativity, a few LED strip lights for the ceiling and you can transform any room into a little oasis of well-being. Whether you go for the floating look, want to add colorful accents or just like cozy, indirect light - the possibilities are really huge. And the best thing is: there really is something for every budget!
So, go for it, grab a few LED strips and let your ceiling shine in new splendor! You'll see what a difference it makes. Have fun trying it out! to
Small living room lighting ideas
Professional lighting design for small living rooms: more brightness, space & comfort Do you know the challenge: although a compact living room often offers cosiness, it...
Read more
How do I find the right lamp for my home? A guide
Finding the right lamp: Your comprehensive guide to perfect lighting Choosing the perfect lamp can be a real challenge. With countless styles, sizes, shapes and...
Read more